panoramic camera for iPhone
MARK II
MARK II
CONTENTS
WELCOME
INTERFACE
VIEWFINDER
CONTROLS
INDICATORS
FULLSCREEN MODE
MAIN MENU
VIEWFINDER SUBMENU
LOCATION/DATE FORMATS
SLOT ITEMS
CONTROLS SUBMENU
SHUTTER BUTTONS
CAMERAS
PROCESSING SLOTS
UTILITIES
ISO
SHUTTER SPEED
PROCESSING SUBMENU
PROCESSING SLOTS
PREVIEW IN VIEWFINDER
PARAMETERS
PROCESS PARAMETER
OTHER PARAMETERS
SETTINGS SUBMENU
VISUALS
INPUT
OVERLAY
OUTPUT
SAVING
ADVANCED TIPS
THERMALS & BATTERY
EXIF METADATA
RAW RECOVERY
PANORAMIC INSPIRATION
WELCOME
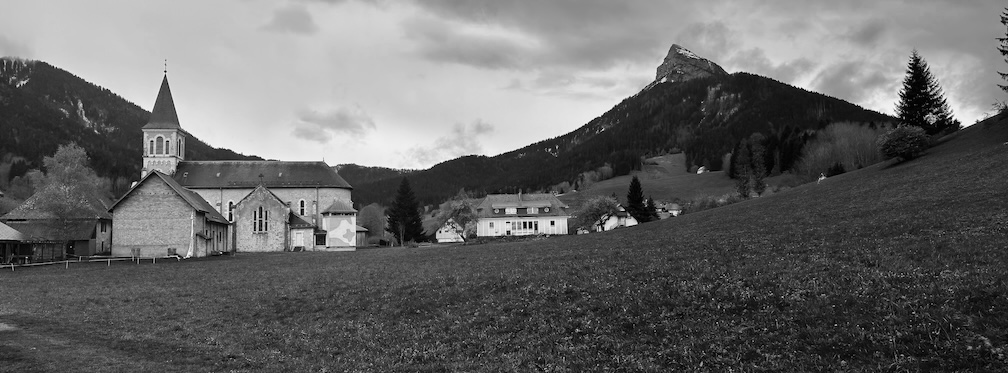
65×24 is a panoramic camera for iPhone, which captures pictures in the 65:24 (2.71) aspect ratio. It is compatible with all iPhones that run iOS 15 or later (any iPhone starting from the iPhone 6S/6S Plus/1st generation SE).
If you don't have it yet, get it from the App Store!
This guide will walk you through the features of the 65×24 panoramic camera for iPhone.
While the interface is designed for maximal ease of use, and any photographer should be able to get started without reading this page, we recommend reading the following if you wish to fully understand all the advanced features and control behaviors in 65×24.
If you encounter any issue, or would like to share your thoughts, you can email contact@heliographe.studio.
INTERFACE
65×24's interface is organized as follows: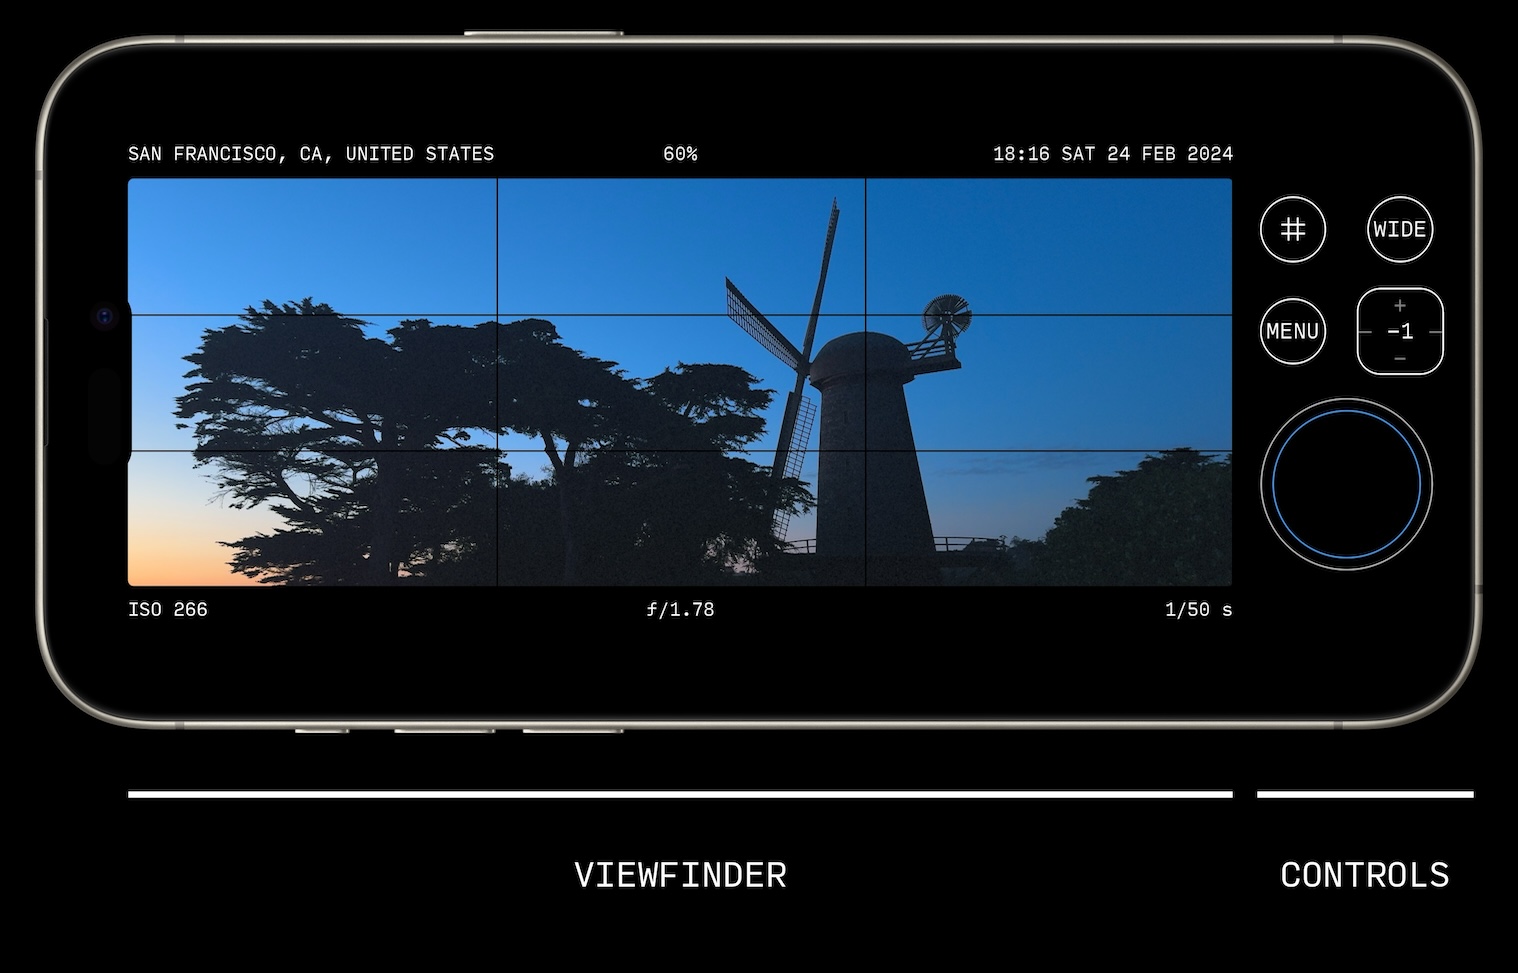
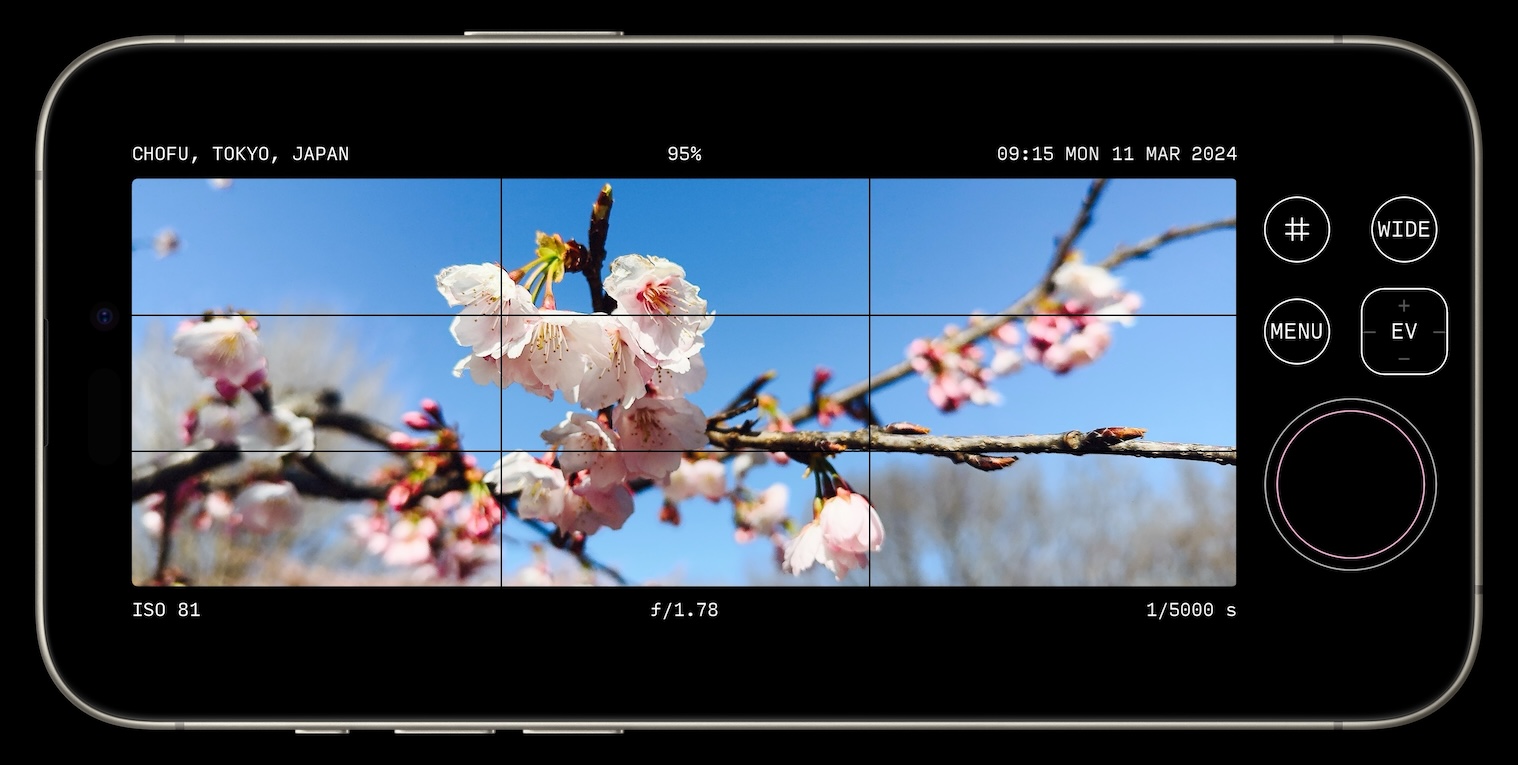
On the left, and occupying most of the screen, is the VIEWFINDER. As with any camera, this lets you preview the image you are about to capture.
On the right, occupying a smaller portion of the screen, are a number of CONTROLS and INDICATORS.
Note that there are different interface appearance options available for 65×24, which can be switched in SETTINGS > VISUALS > APPEARANCE

The difference between these appearances is purely cosmetic; all functionality remains identical regardless of the options chosen.
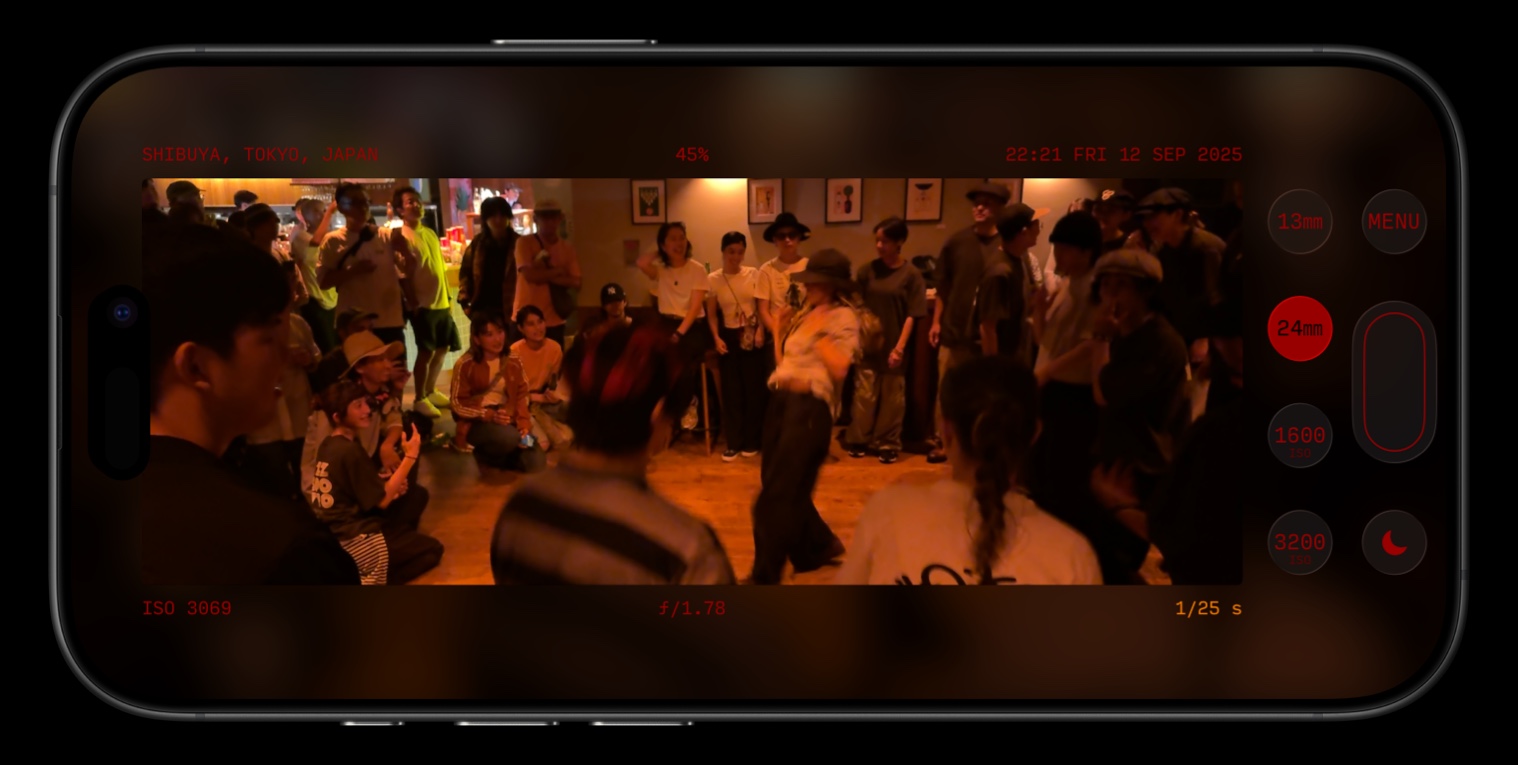
VIEWFINDER
The VIEWFINDER previews the image you are about to capture.You can tap anywhere on the VIEWFINDER to automatically focus and set exposure on the tapped point. A colored square will appear, and fade after focus/exposure have been set.
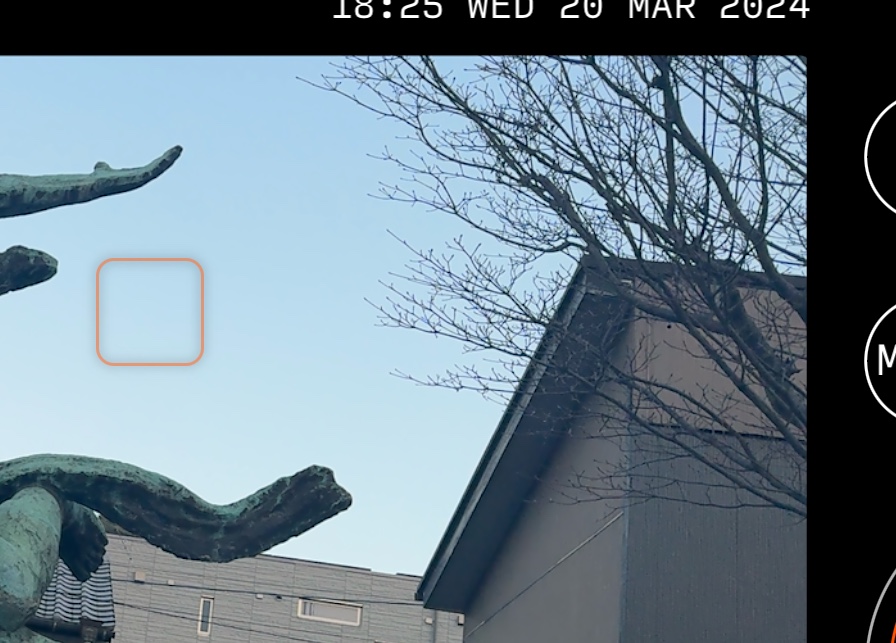
Note that some iPhone cameras (for example, the Ultra Wide on iPhone 11 models) do not support setting focus; in those situations, only exposure will be set to where you tapped.
On the periphery of the VIEWFINDER, a number of information items are displayed. When you first launch the app, you will see location, battery charge status, date and time above the viewfinder; below, shutter speed, f-stop, and ISO for the active scene.
For a complete description of those elements, and how they can be customized, see the VIEWFINDER SUBMENU section.
CONTROLS
Here are the controls you will see when first launching the app. Note that the controls and their layout can be fully customized, and many more controls are available; see the CONTROLS SUBMENU section.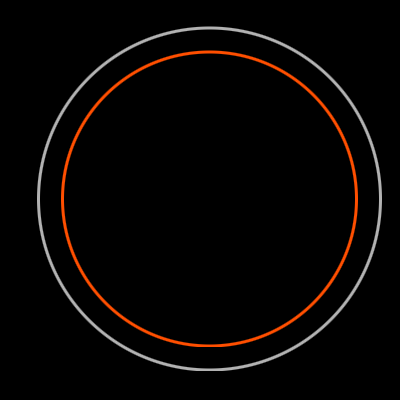 |
SHUTTER BUTTON |
The largest button, pressing it will capture a photograph. You can also capture a photograph by pressing one of iPhone's volume buttons. The ACCENT COLOR can be customized in SETTINGS › DISPLAY. |
 |
OVERLAY BUTTON |
This will toggle the composition overlay on and off. You can customize the appearance of the grid, and enable a horizon level, in the SETTINGS › DISPLAY submenu. |
 |
MENU BUTTON | Tapping this will bring up the menu. Tapping it again will dismiss the menu. See the MENU section for full documentation of 65×24's menu system. |
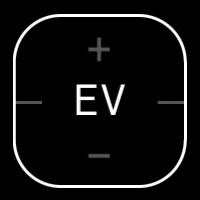 |
EV (EXPOSURE VALUE) CONTROL |
This control consists of two buttons that let you adjust exposure. Tapping + will bring up the exposure by 1/3rd of a stop. Tapping - will bring down the exposure by 1/3rd of a stop. You can hold your tap and drag up or down to adjust exposure by greater values. If haptics are enabled, you will feel a haptic detent on every value change. |
 |
CAMERA SWITCHER BUTTON |
On devices with multiple physical rear cameras, or one or more Fusion cameras, this control lets you cycle through the cameras. On iOS 26, the focal length of the active camera (in millimeters) is displayed. On older operating systems, the name of the camera is displayed as follows: - WIDE is the default, and your iPhone's 1× camera. - ULTRAWIDE, if available, is your iPhone's 0.5× camera. - TELE, if available, is your iPhone's telephoto camera. Depending on your iPhone model, this might be 2×, 2.5×, 3×, or 5×. |
INDICATORS
Indicators will only appear when there is relevant information to communicate.
|
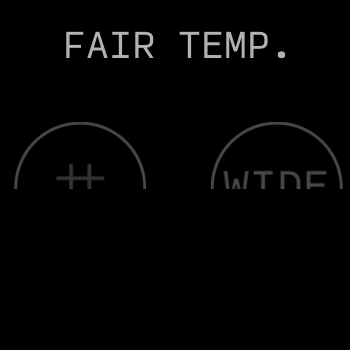
TEMPERATURE INDICATOR |
Located above the CONTROLS; if the device reaches an above standard operating temperature, it will be displayed here. Non standard levels are FAIR, MID, and HIGH. General performance might be affected at those temperature levels; see THERMALS & BATTERY for tips. |
|
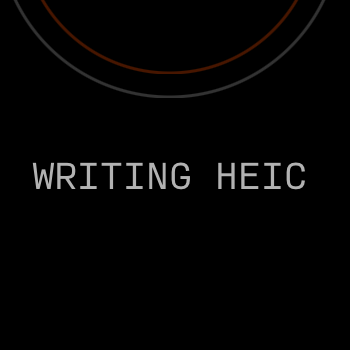
STATUS INDICATOR |
Located below the CONTROLS; information will be displayed when a photo is being processed, or written. You may not see this indicator at all if processing or writing happens quickly on your device. |
FULLSCREEN MODE
One unique feature of 65×24 is an immersive fullscreen mode.You can configure how the fullscreen mode is triggered in SETTINGS > INPUT > FULLSCREEN TRIGGER.
MAIN MENU
By tapping the MENU button, you can show or dismiss the settings menu. You can also swipe left anywhere on the viewfinder to bring up the menu, and swipe right anywhere on the viewfinder to dismiss it. (this is reversed in left-handed mode)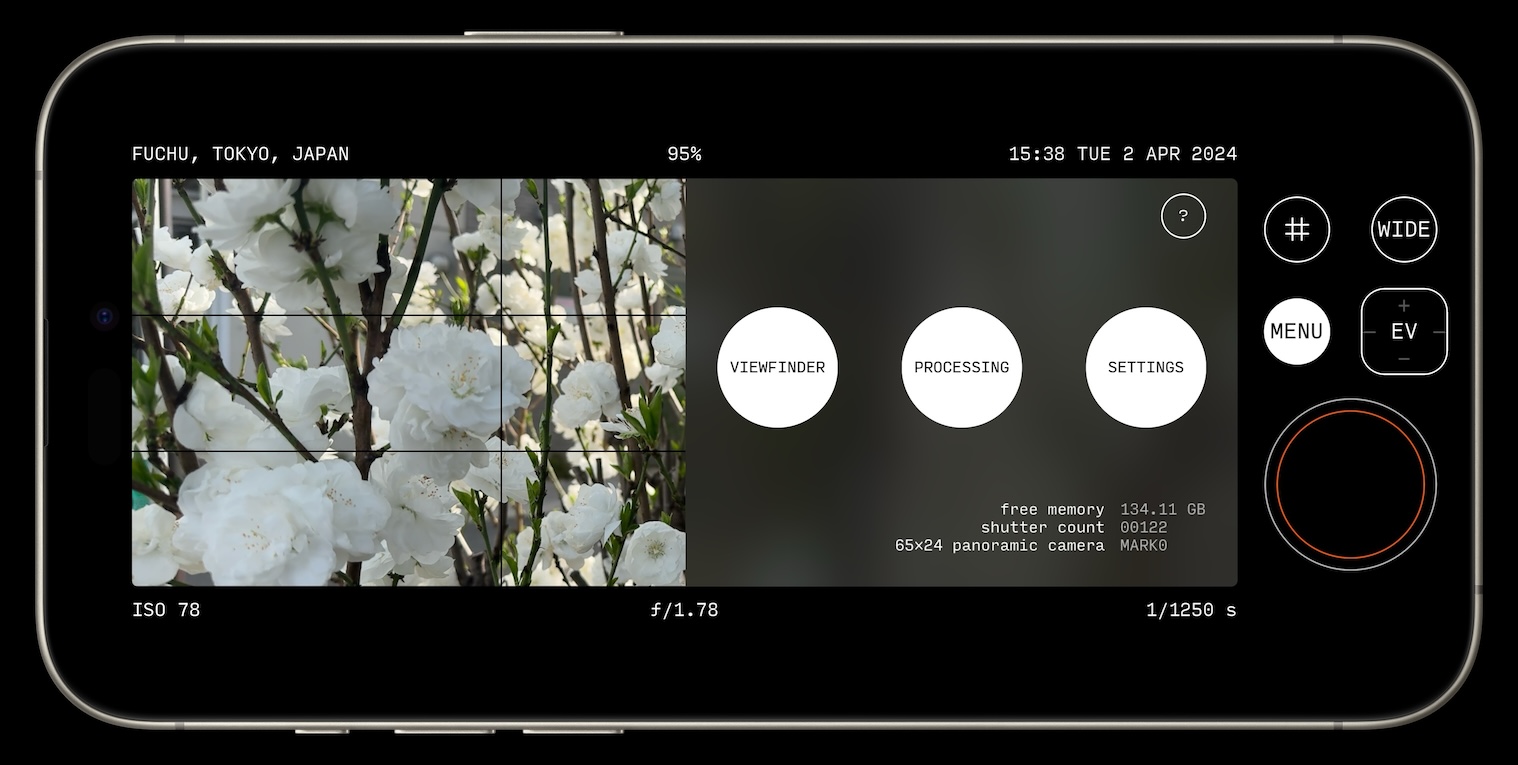
The first menu to be displayed, the main menu, gives you access to four submenus, detailed below.
Note that access to all the submenus needs to be unlocked through a one time in-app purchase.
Additional information, such as the total number of shots captured, and available storage space, are also displayed here.
VIEWFINDER SUBMENU
This submenu lets you customize which items are displayed around the VIEWFINDER periphery.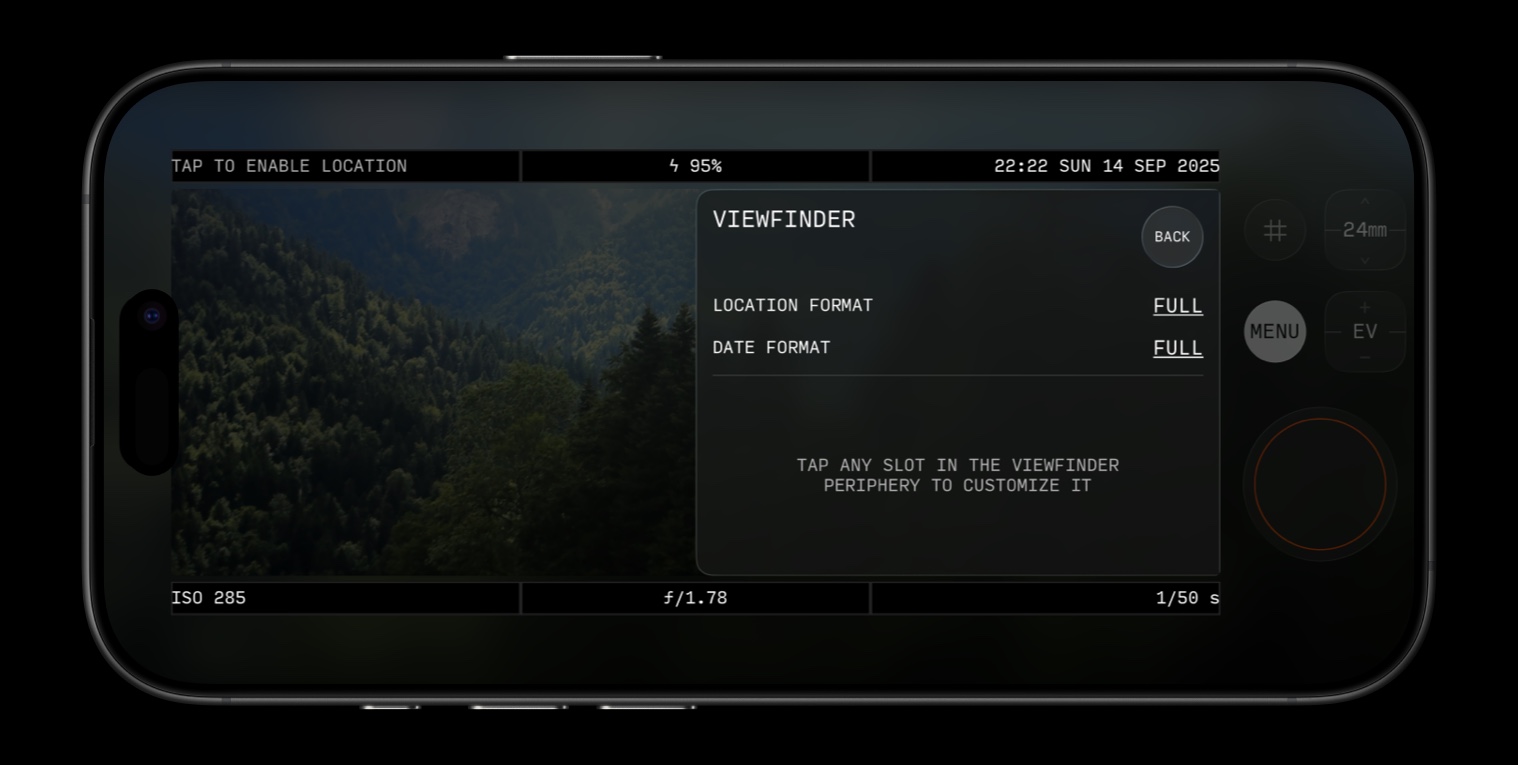
LOCATION/DATE FORMATS
The top section lets you customize the LOCATION and DATE items. Note that the exact way items are displayed might change according to your device's region settings.| LOCATION FORMAT |
This affects how the LOCATION item gets displayed. Options are: - FULL (Mitaka, Tokyo, Japan) - COUNTRY (Japan) - CITY+REGION (Mitaka, Tokyo) - REGION (Tokyo) - CITY (Mitaka) - GPS (35.68° 139.52°) |
| DATE FORMAT |
This affects how the LOCATION item gets displayed. Options are: - FULL (22:30 SUN 14 SEP 2025) - TIME (22:30) - DAY (SUN 14 SEP) - DATE (14 SEP 2025) - SHORT (14/09/2025) |
SLOT ITEMS
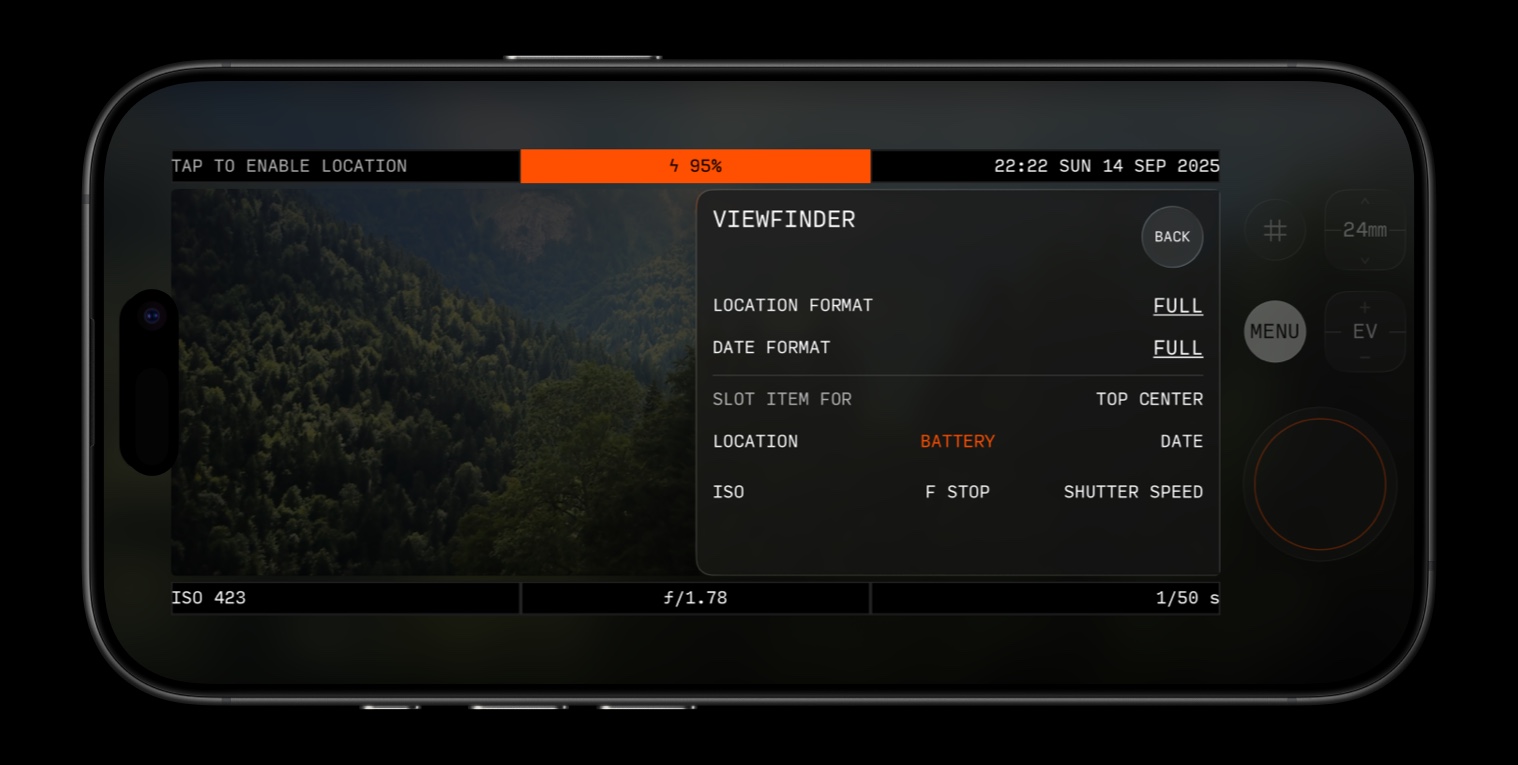
The bottom section lets you customize the 6 slots around the VIEWFINDER periphery. Tap a slot to choose what to display there. Tapping the item currently selected will clear it.
For example, in the image above, the top center item is selected, and BATTERY is chosen for it. Tapping another item, such as LOCATION or ISO, will set it to that slot.
Every item can only be in one slot at most, so setting an item to a new slot will remove it from the previous one, if any.
CONTROLS SUBMENU
This submenu lets you fully customize the controls displayed in the interface, and access only the advanced functionality you need to.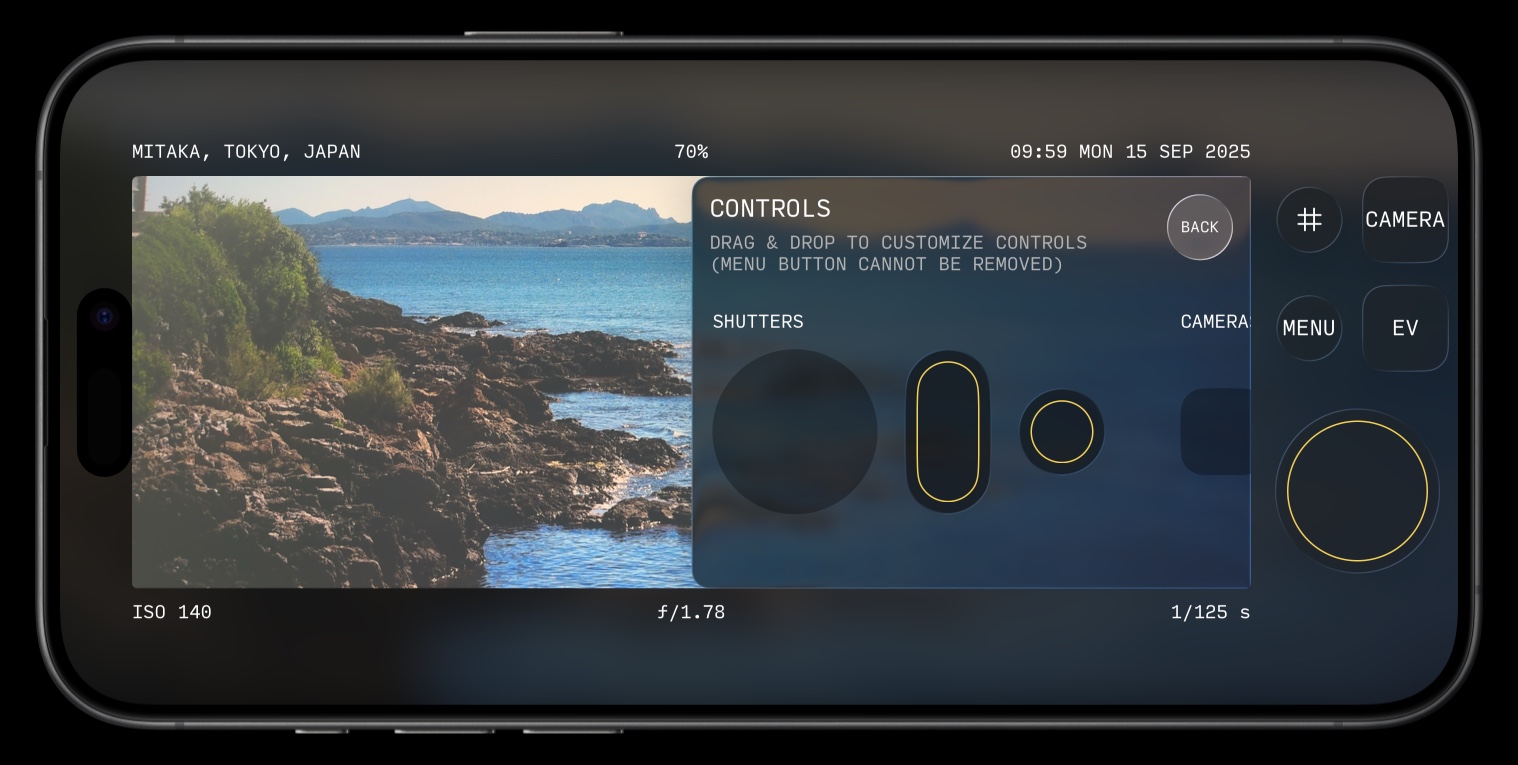
To remove a control, drag it from the controls area to the submenu (note that the MENU button cannot be removed).
To add a control, drag it from the scrolling picker in the submenu to a free pegboard slot (indicated by a small white dot) to the right.
ALL AVAILABLE CONTROLS
Below is a description of all the controls available.Excluding the shutter buttons, controls come in 2 categories:
- Buttons are round, and pressing them will typically toggle/activate a feature. Toggle buttons will be highlighted with the accent color set in Preferences to indicate clearly when they're active. They're useful for when you want quick access to a specific setting.
- Switchers are square with rounded corners, and they let you cycle through all different values for a given parameter. They're useful for when you want all possible options in a compact way.
SHUTTERS
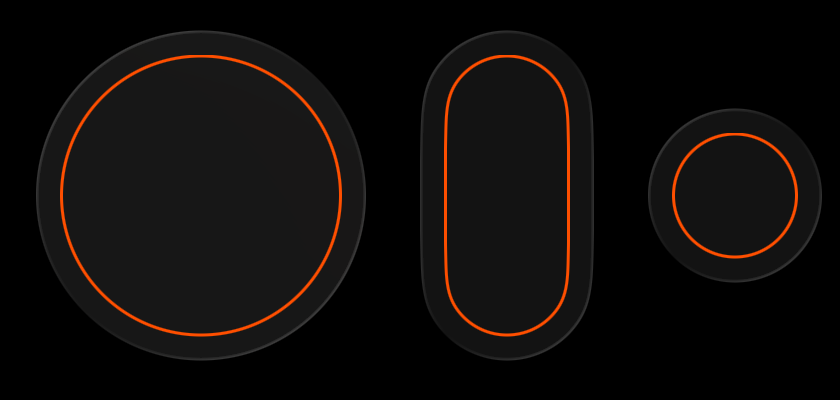
Shutter buttons let you capture photos. They all do the same things, but the different sizes let you customize the interface to your needs.
Keep in mind that the Down Volume button will also take a picture (as well as Camera Control on iPhone 16/17), so if you want to use 65×24 without a software shutter button, you can!
CAMERAS
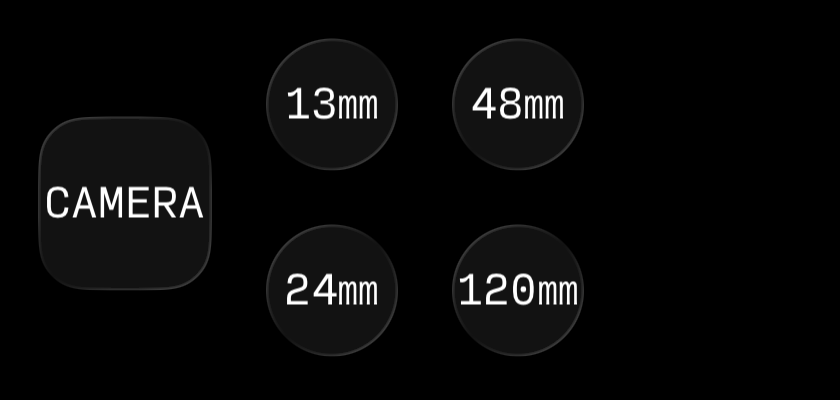
The square camera switcher will cycle through all available focal lengths on your device.
The round individual camera buttons let you jump directly to that focal length. The exact ones you will have access to will vary depending on your device model.
PROCESSING SLOTS
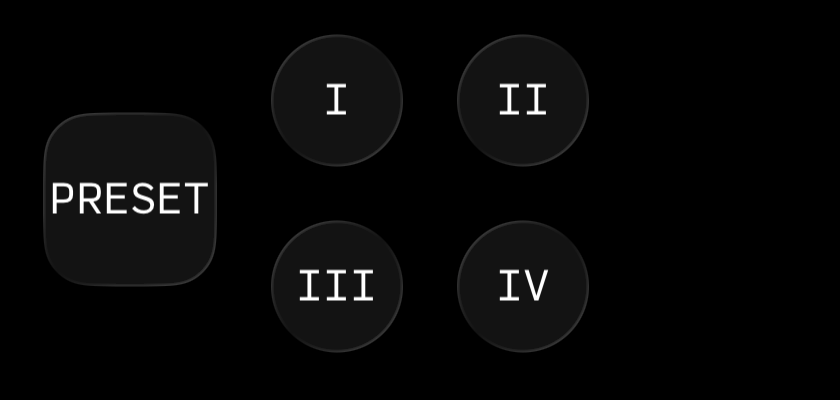
The square processing slot switcher lets you cycle through all available processing slots, with the name of the currently selected one displayed. You can customize the labels used in SETTINGS > VISUALS > PROCESSING SLOT NAMES.
The round individual processing slot buttons let you jump directly to that processing slot, with the currently selected one appearing highlighted.
UTILITIES

The square EV button lets you increase or decrease the Exposure Value from -3 to +3, in 1/3 increments.
The round moon button toggles Night Mode: when turned on, the entire interface switches to a red-on-black theme.
The round overlay button toggles the overlay (grid and/or horizon level) on or off. You can configure the appearance of the overlay in SETTINGS > OVERLAY.
ISO
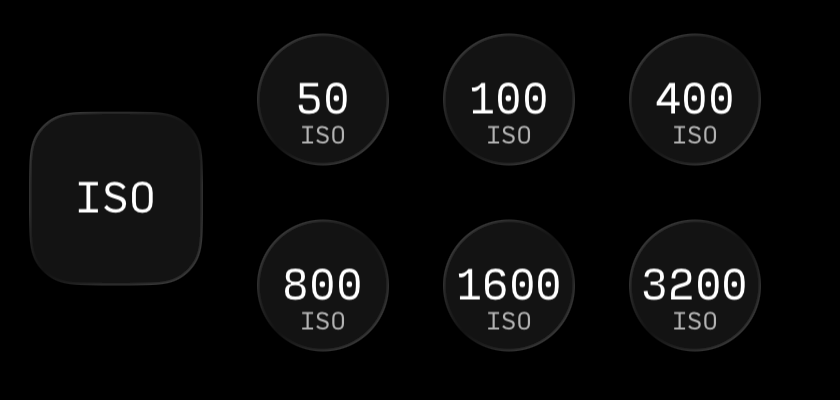
The ISO switcher lets you cycle through classic ISO values.
The individual ISO buttons let you jump directly to that ISO value.
Some users have a favorite ISO
SHUTTER SPEED
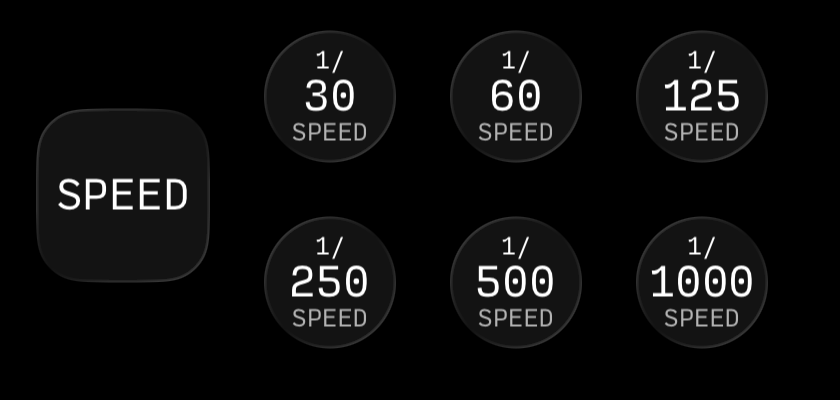
The Shutter Speed switcher lets you cycle through classic shutter speed values.
The individual shutter speed buttons let you jump directly to that shutter speed value.
PROCESSING SUBMENU
This submenu lets you customize how photos are processed when they are captured, enabling you to come up with a unique aesthetic for your pictures.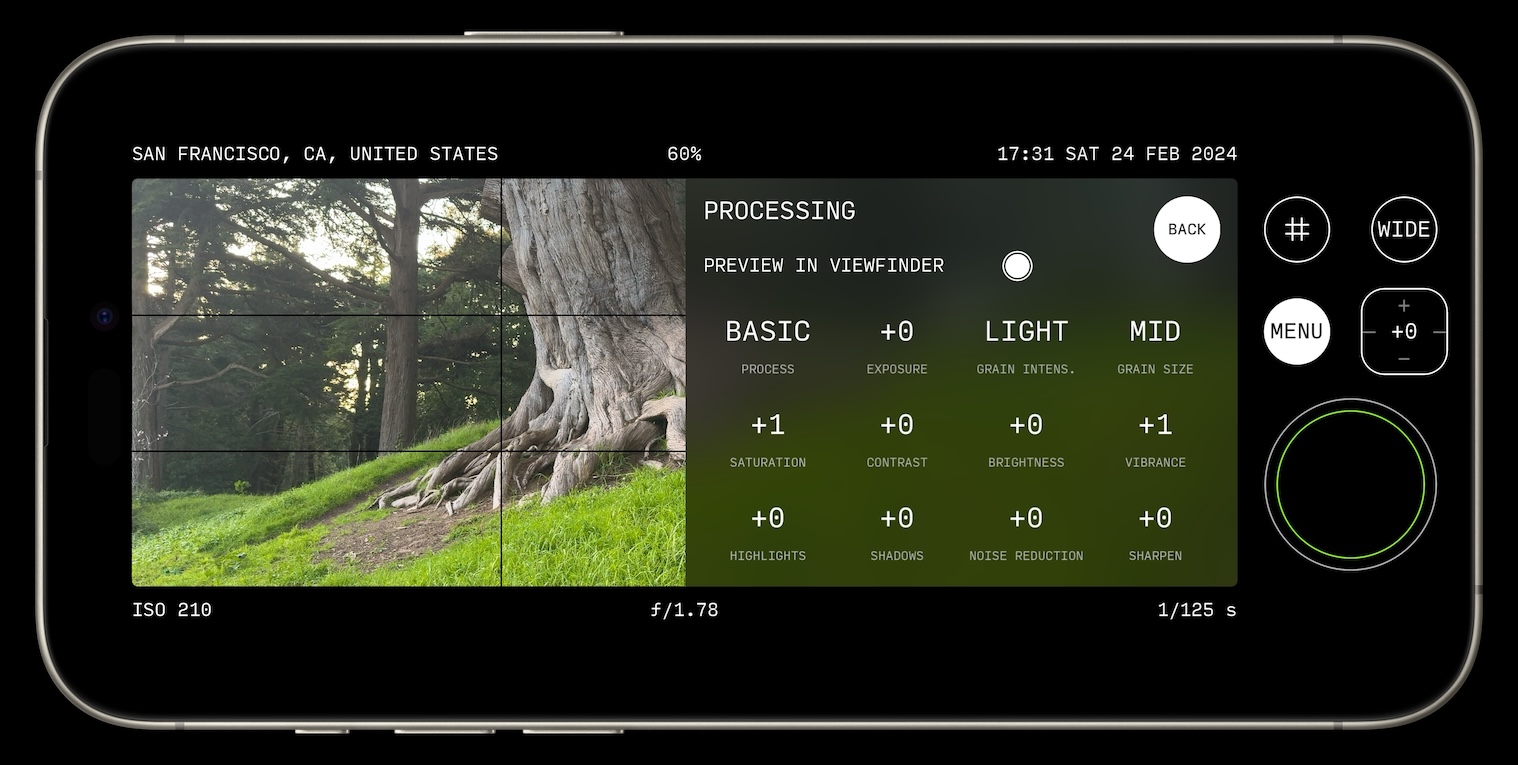
PROCESSING SLOTS
There are four slots you can customize. Switch between them using the picker at the top. Alternatively, you can also use dedicated controls to switch between them without having to go through this menu (see the CONTROLS SUBMENU section).You can also customize the labels used to name these slots in the SETTINGS submenu, under VISUALS > PROCESSING SLOT NAMES.
PREVIEW IN VIEWFINDER
PREVIEW IN VIEWFINDER is a toggle that determines whether the VIEWFINDER will display the image with the processing applied, or not. It is turned on by default.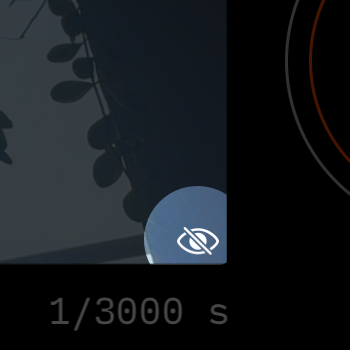
While having it enabled lets you accurately preview what your images will look like, your device will consume a bit more power, and run a little bit warmer.
You may want to turn it off if you want to preserve battery, or if the TEMPERATURE INDICATOR frequently indicates high levels.
PARAMETERS
There are 12 processing parameters you can control.For each parameter, you can advance to the next value by tapping it. When the last value is reached, tapping it will go back to the first value.
If haptics are enabled, you will feel a haptic detent on each value change.
Holding your finger on the parameter without moving your finger will reset the value to its default. If haptics are enabled, you will feel a haptic detent when the value is reset.
PROCESS PARAMETER
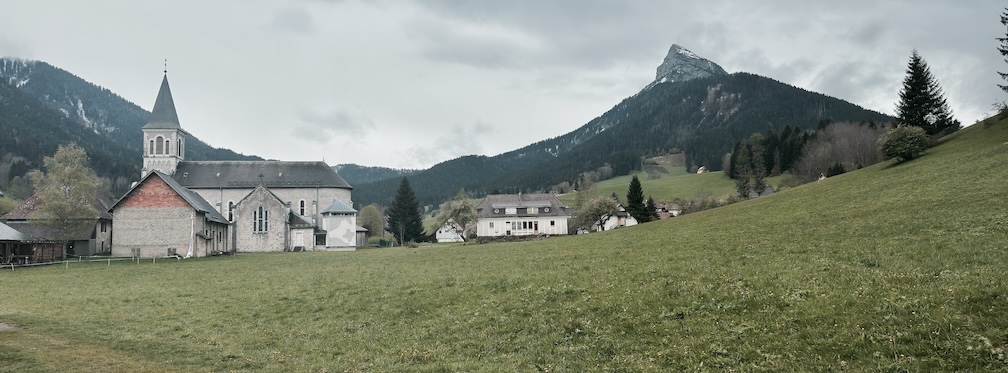
This parameter affects the base look of the image. Choose a look you like with this parameter, and refine it further with the additional parameters.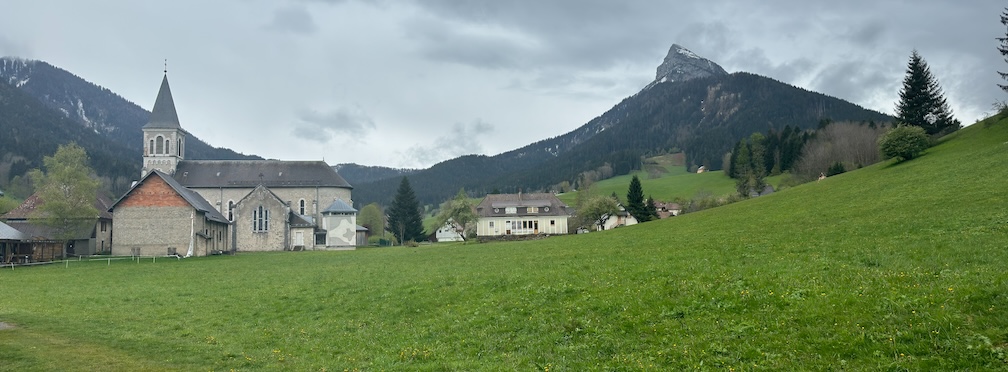 BASIC: Default, no filtering applied.
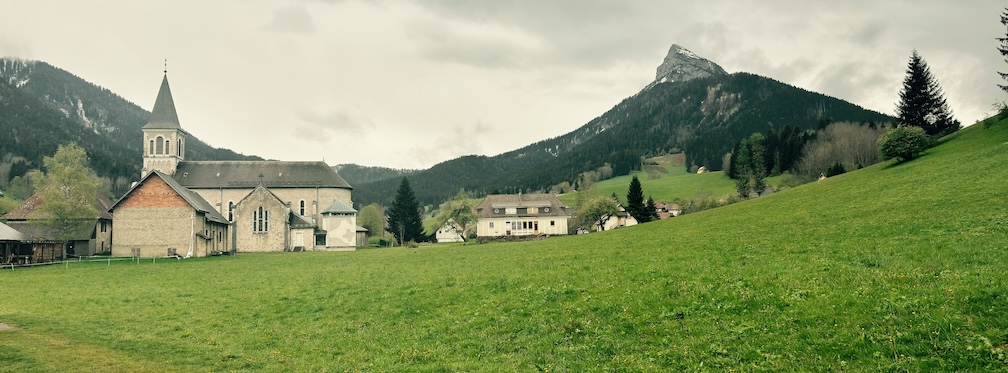 WARM: Warm colors, slight yellow tint.
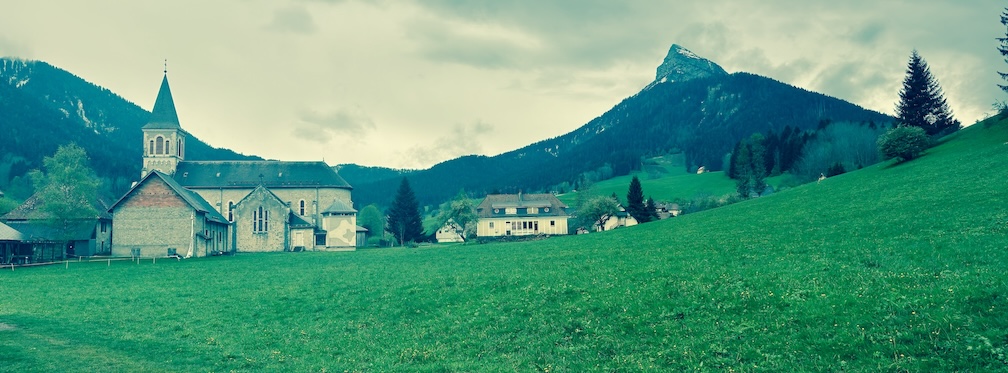 COOL: Cool colors, slight blue tint.
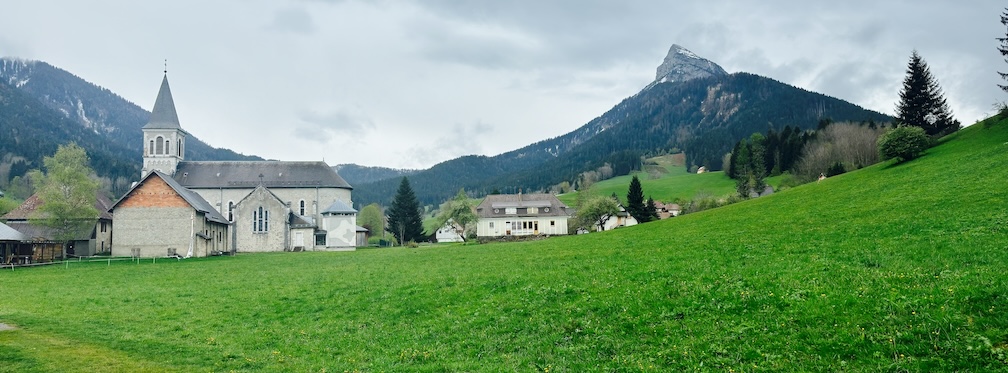 BOOST: Boosted colors.
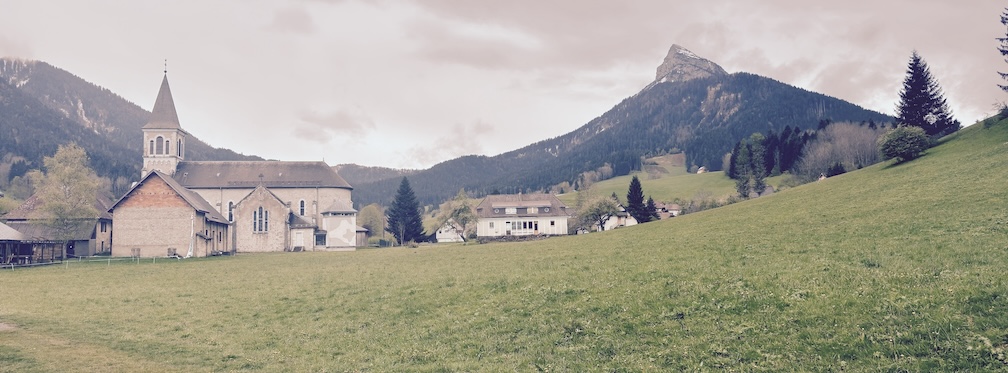
 FADE: Faded colors.
 LO-FI: Distorted colors.
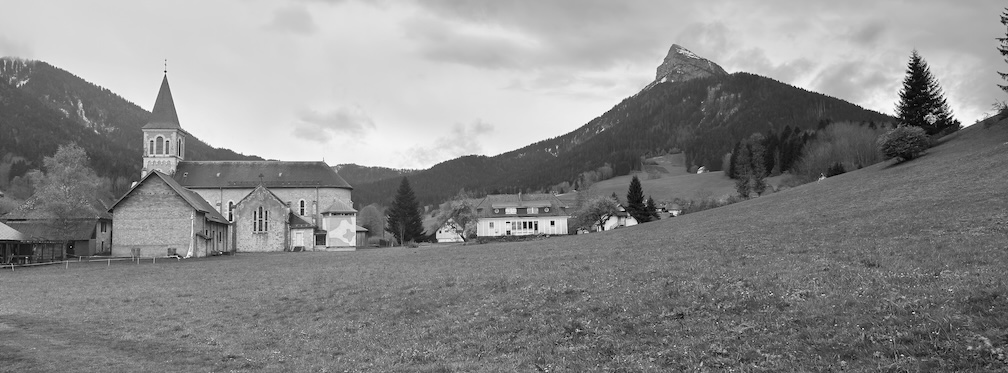 BW: A neutral black & white.
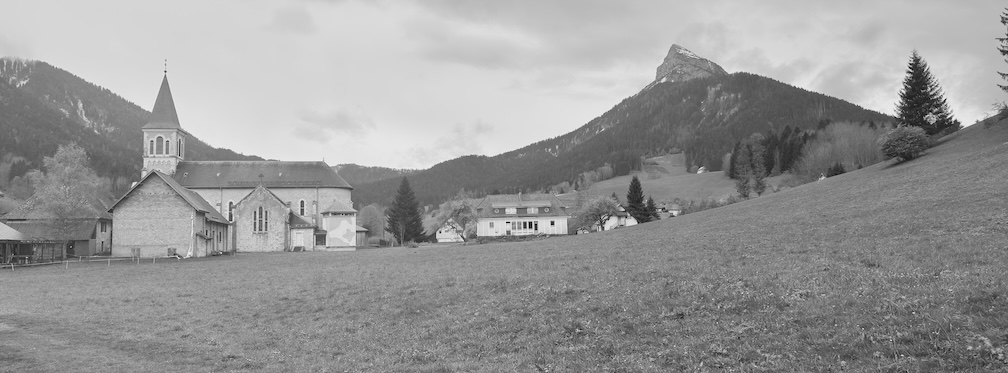 BW-: A flatter black & white.
 BW+: A black & white with stronger contrast.
OTHER PARAMETERS
EXPOSURE
Exposure adjusts the overall luminosity of the image.Values range from -5 to +5.
GRAIN SIZE
The amount of grain to apply to the image.Values are NONE, LIGHT, MID, HEAVY.
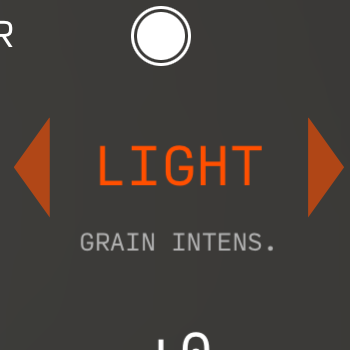
GRAIN INTENSITY
The intensity of the grain to apply to the image.Values are FINE, MID, COARSE. This parameter is disabled if GRAIN SIZE is set to NONE.
SATURATION
The saturation to apply to the image. Positive values boost colors, negative values bring them closer to black and white.Values range from -5 to +5.
CONTRAST
The amount of contrast to apply to the image.Values range from -5 to +5.
BRIGHTNESS
The overall brightness to apply to the image.Values range from -5 to +5.
VIBRANCE
Similar to SATURATION, but does not affect skin-tone colors in order to preserve their appearance.Values range from -5 to +5.
HIGHLIGHTS
Boosts or reduces highlights, that is the brighter parts of the image.Values range from -5 to +5.
SHADOWS
Boosts or reduces highlights, that is the darker parts of the image.Values range from -5 to +5.
NOISE REDUCTION
Positive values reduce the amount of noise in the image; negative values bring back some of the natural sensor noise.Values range from -5 to +5.
SHARPEN
Positive values make fine details and textures appear sharper, negative values makes them fuzzier.Values range from -5 to +5.
SETTINGS SUBMENU
This submenu is divided into five tabs: VISUALS, INPUT, OVERLAY, OUTPUT, SAVING.Every single setting for each tab is described in the following sections.
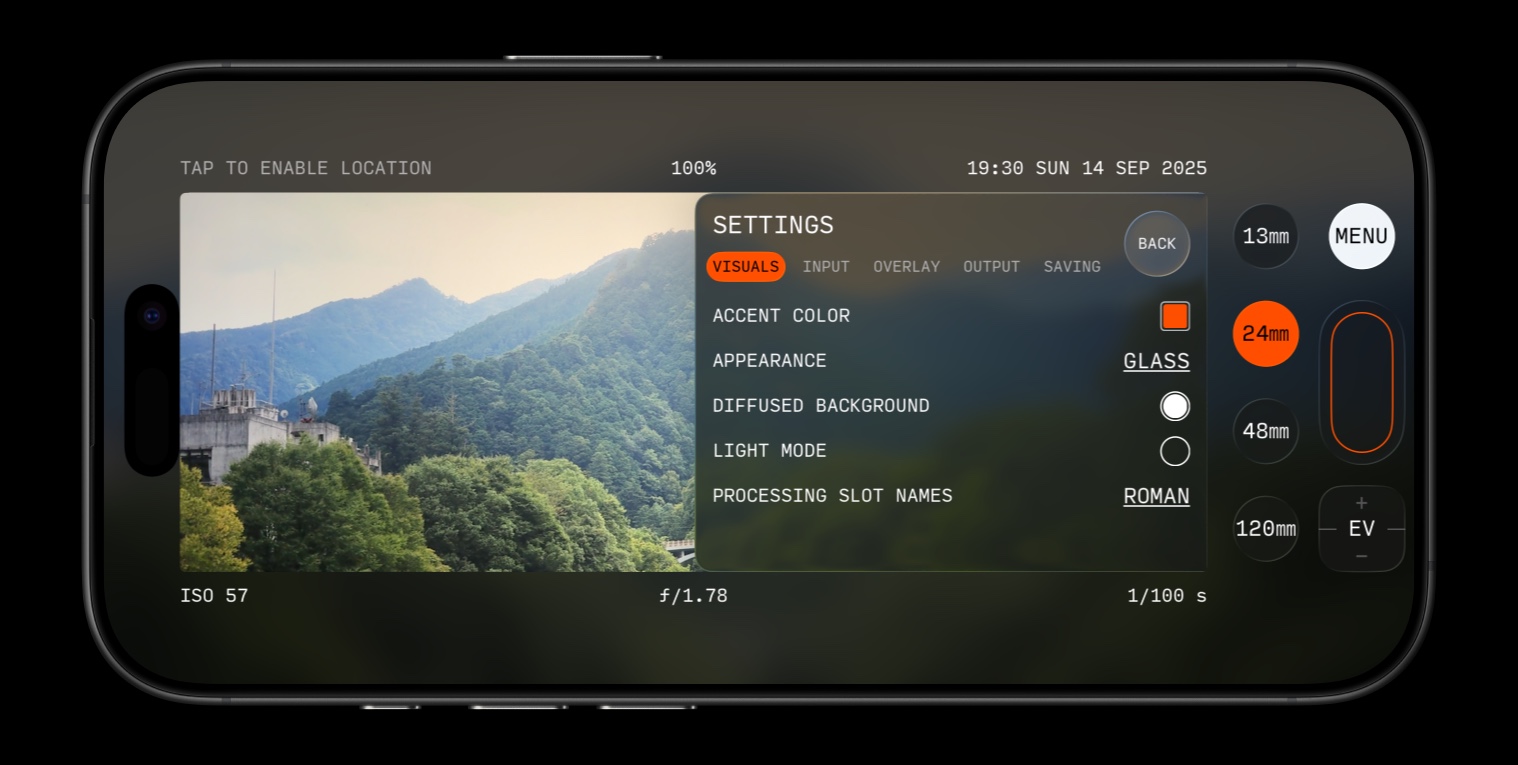
VISUALS
| ACCENT COLOR |
Customize the accent color used throughout the interface. Tap to cycle through the available colors. Options are International Orange, Chartreuse Green, Swedish Gold, Sanna Blue, Plum Pink, Murasaki Purple. |
| APPEARANCE |
The overall appearance of the interface. Options are: - GLASS, a theme that uses Apple's Liquid Glass material (iOS 26 only) 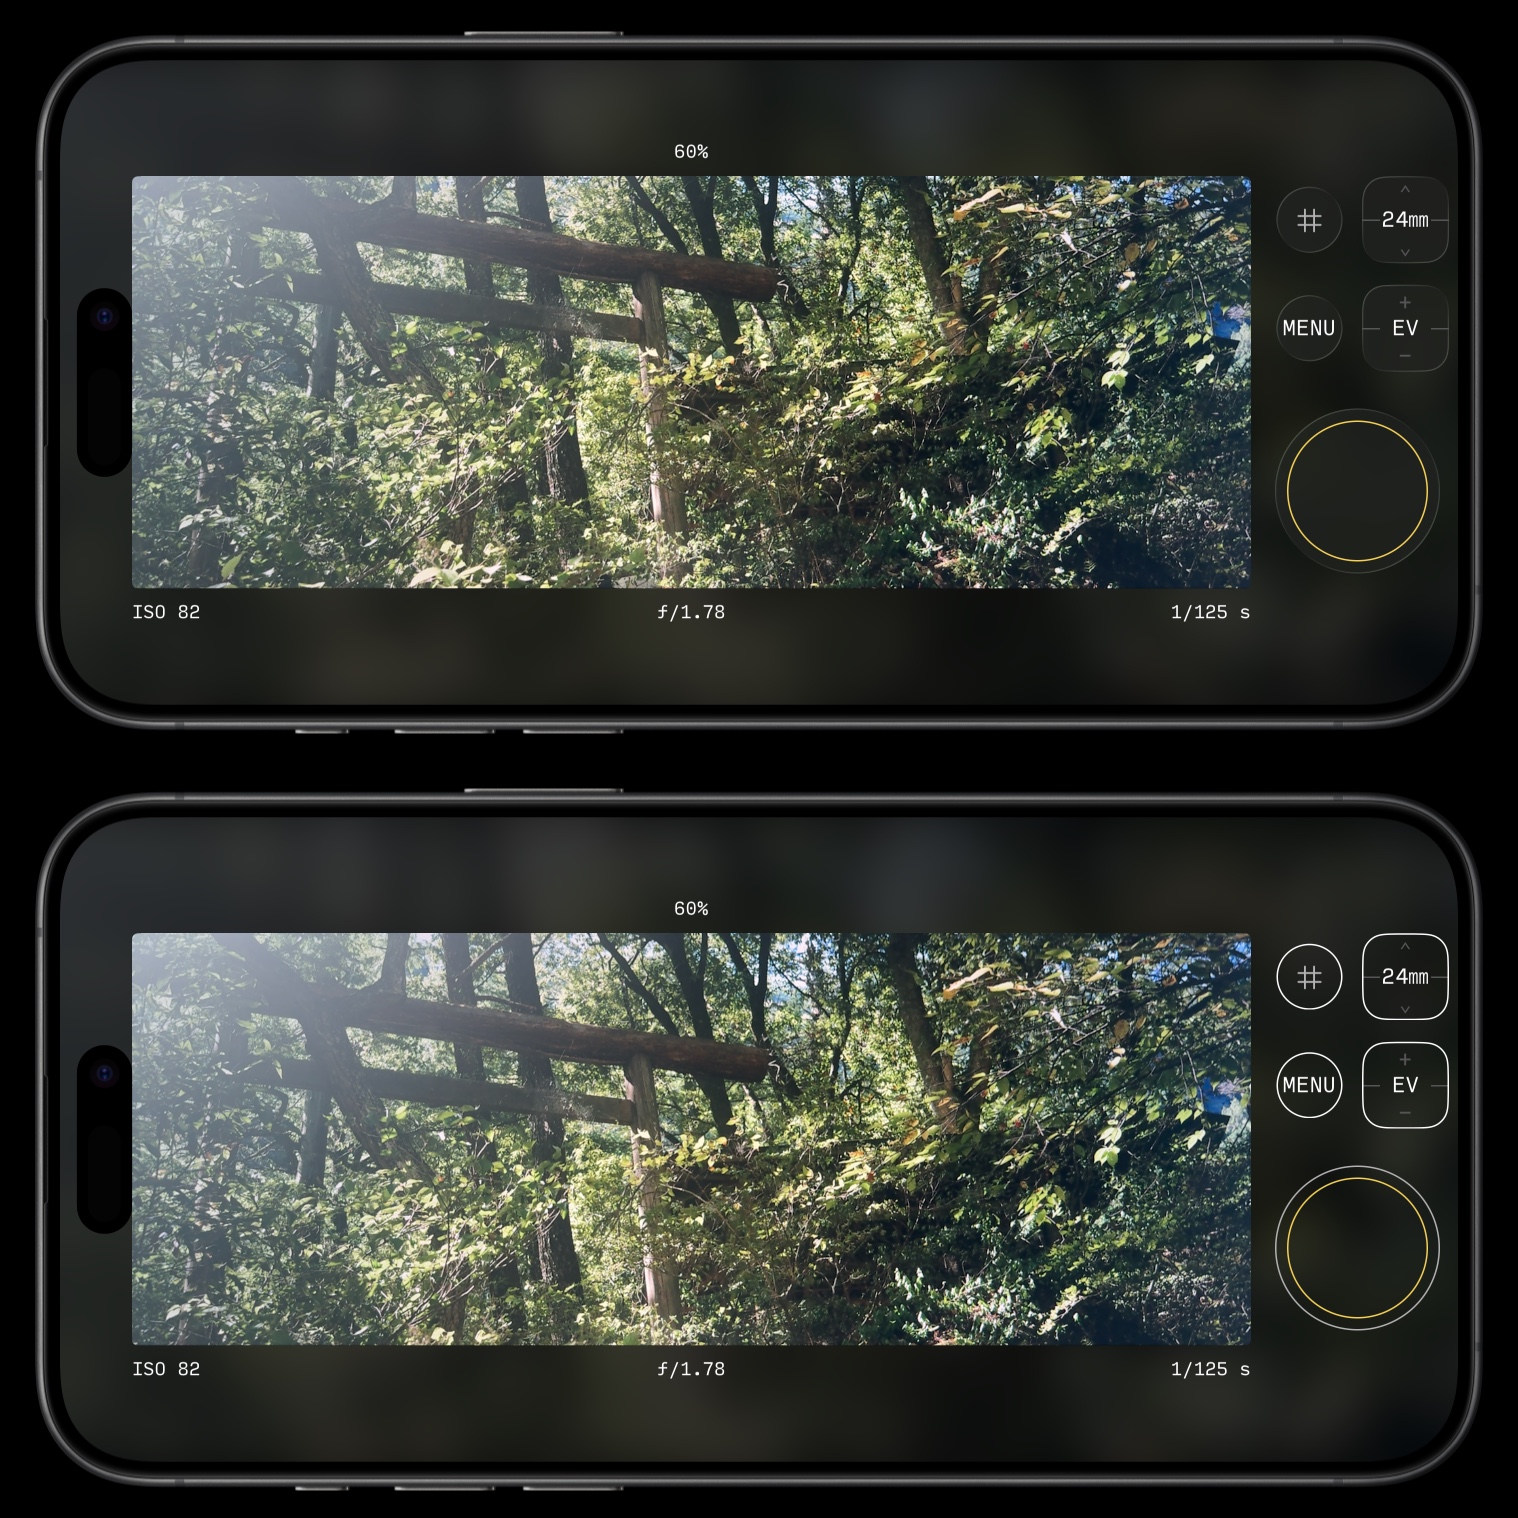 - CLASSIC, a minimal theme designed to be high contrast, and defer to the viewfinder.
We recommend using CLASSIC when battery life is a concern. |
| DIFFUSED BACKGROUND |
If enabled, the entire background of the app is permeated with a subtle, blurred rendition of the viewfinder which pairs particularly well with the Liquid Glass controls as it diffuses through the material.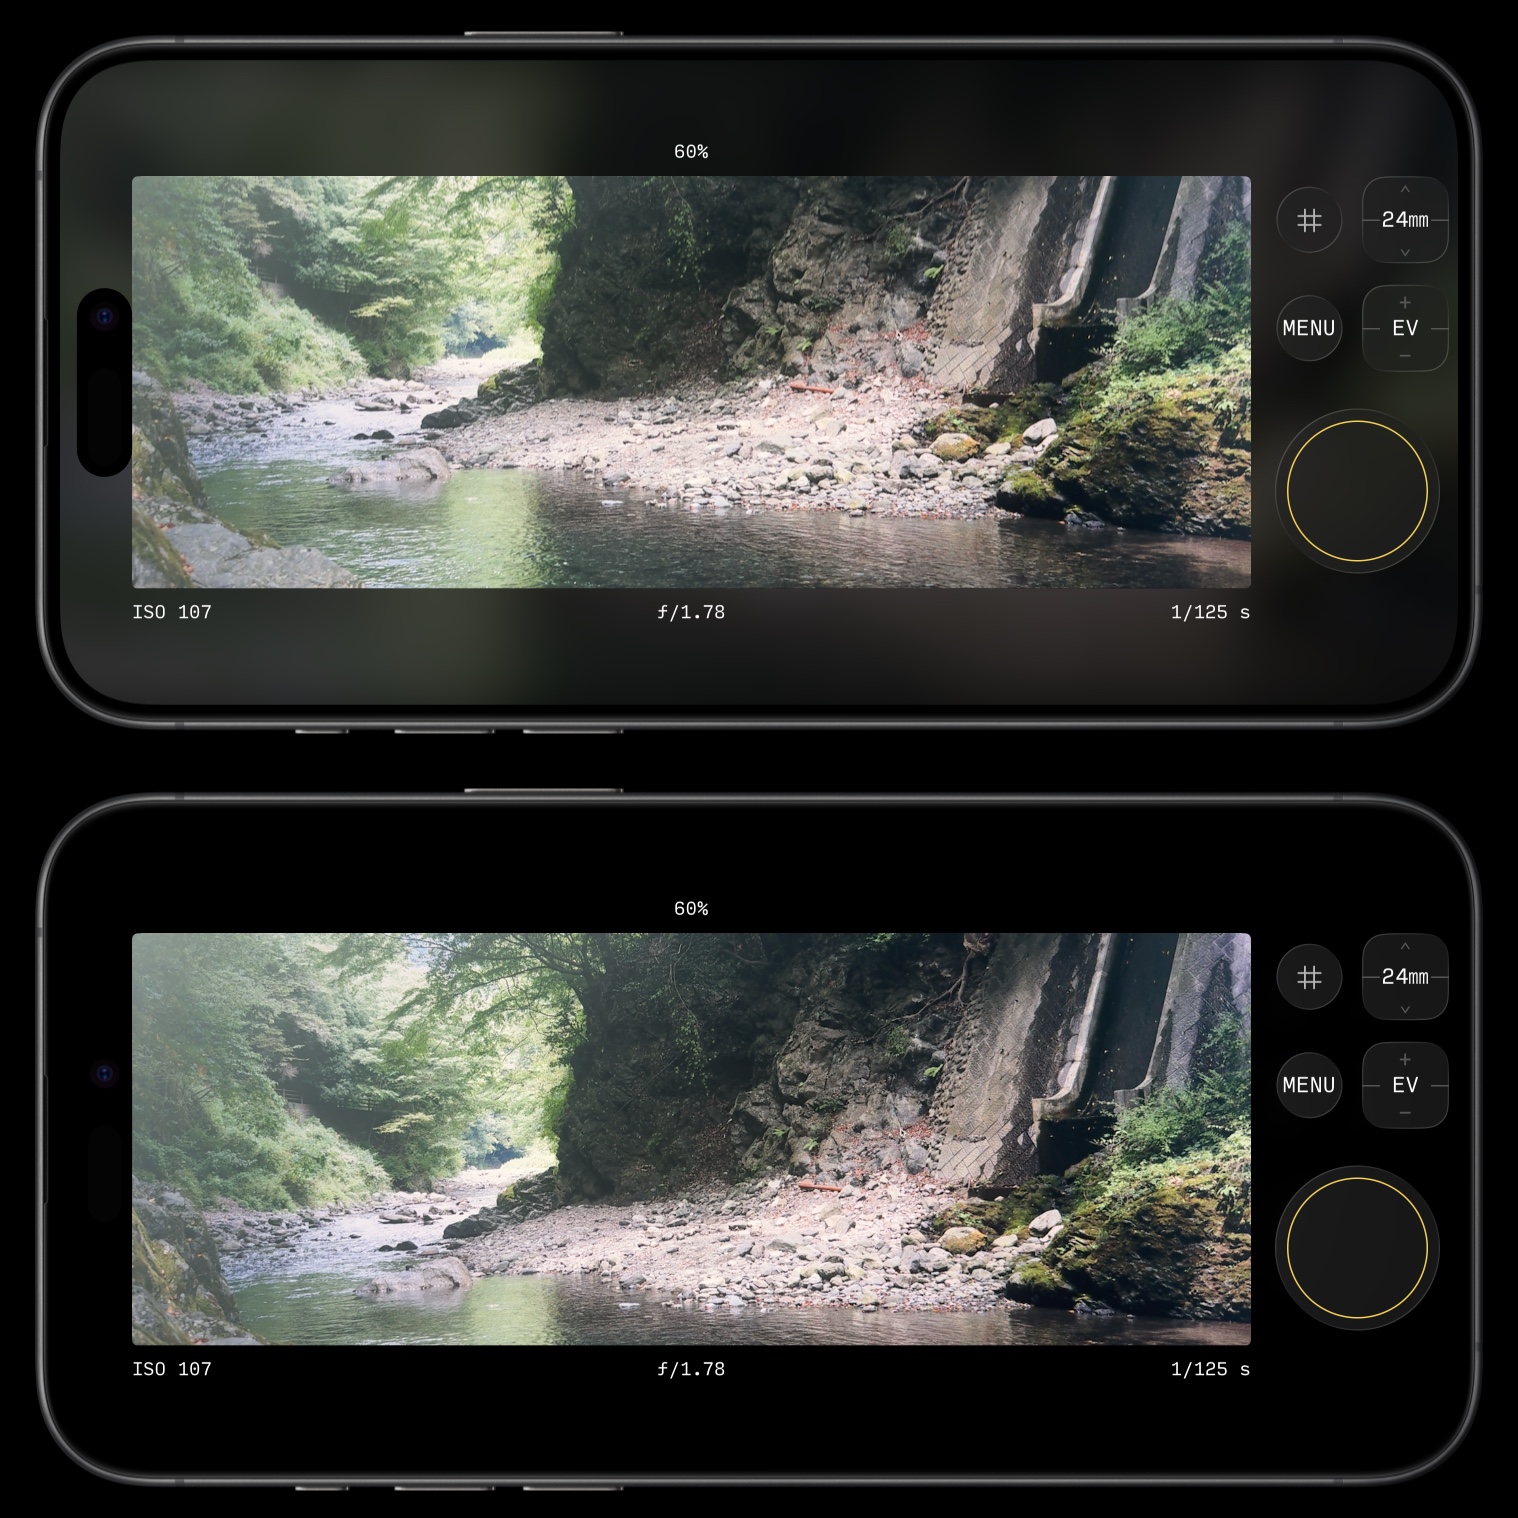 We recommend turning it off when battery life is a concern.
|
| LIGHT MODE |
If enabled, the user interface will be black text on white background, rather than white text on black background. This setting is enabled by default on iPhone models that do not feature an All-Screen Design (pre-iPhone X devices). |
| PROCESSING SLOT NAMES |
The labels that are used for the four process slot names. This is purely cosmetic and can be changed without affecting the slots. Options are: ROMAN (default): I, II, III, IV ARABIC: 1, 2, 3, 4 CHINESE: 一, 二, 三, 四 DEVANAGARI: १, २, ३, ४ LATIN: A, B, C, D GREEK: α, β, γ, δ |
INPUT
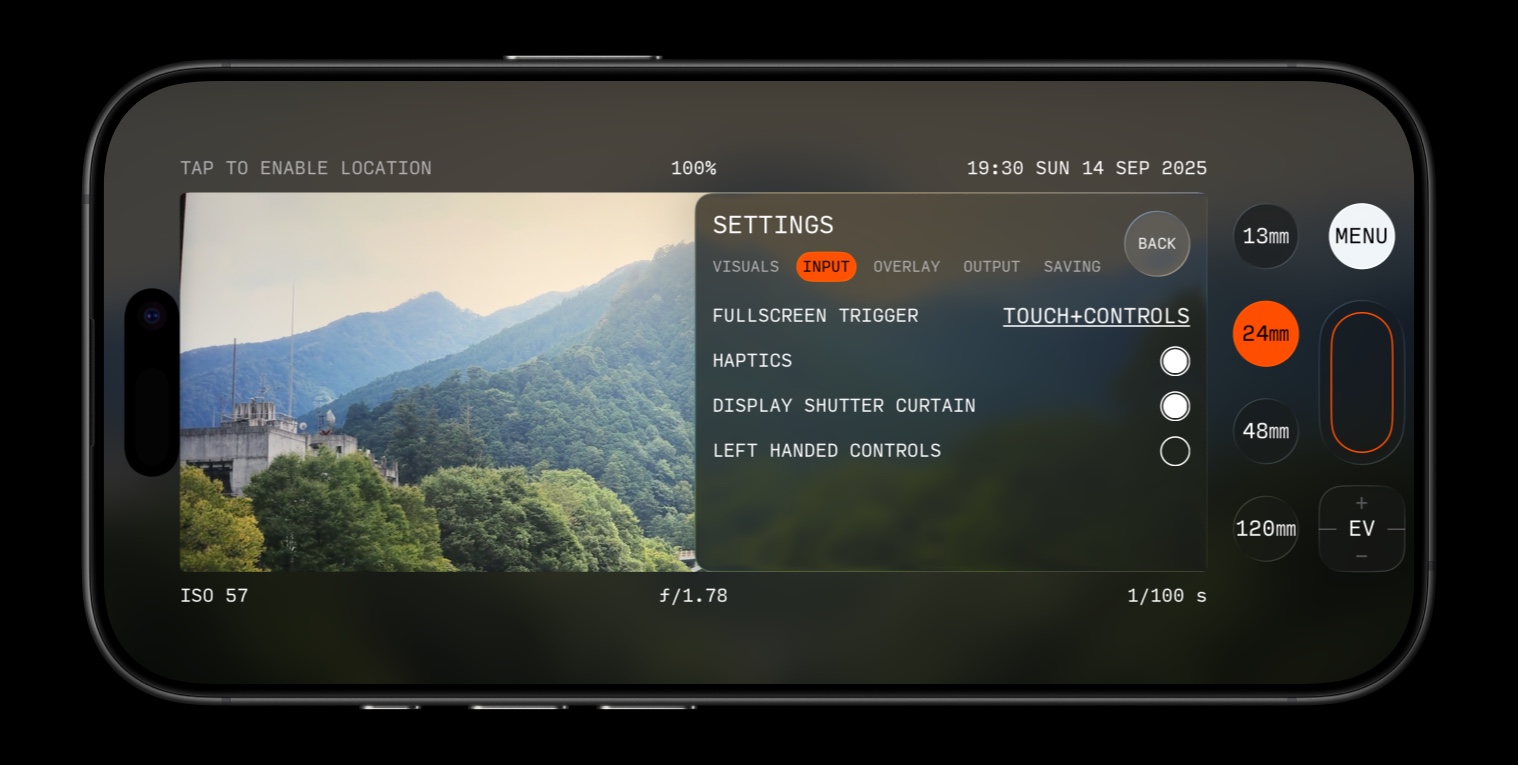
| FULLSCREEN TRIGGER | 65×24 features an immersive, fullscreen viewfinder mode. When set to NONE, this mode never gets toggled. When set to CONTROLS, this mode gets toggled only when hardware controls (Volume buttons, Camera Control on iPhone models that feature it) are used. When set to TOUCH+CONTROLS, this mode gets toggled when hardare controls are used, or when the black area outside of the viewfinder is tapped. |
| HAPTICS | If enabled, haptic feedback will be triggered when interacting with controls. |
| DISPLAY SHUTTER CURTAIN | If enabled, a shutter curtain animation will be displayed when capturing a photo. |
| LEFT HANDED CONTROLS | If enabled, the CONTROLS will be on the left of the VIEWFINDER. |
OVERLAY
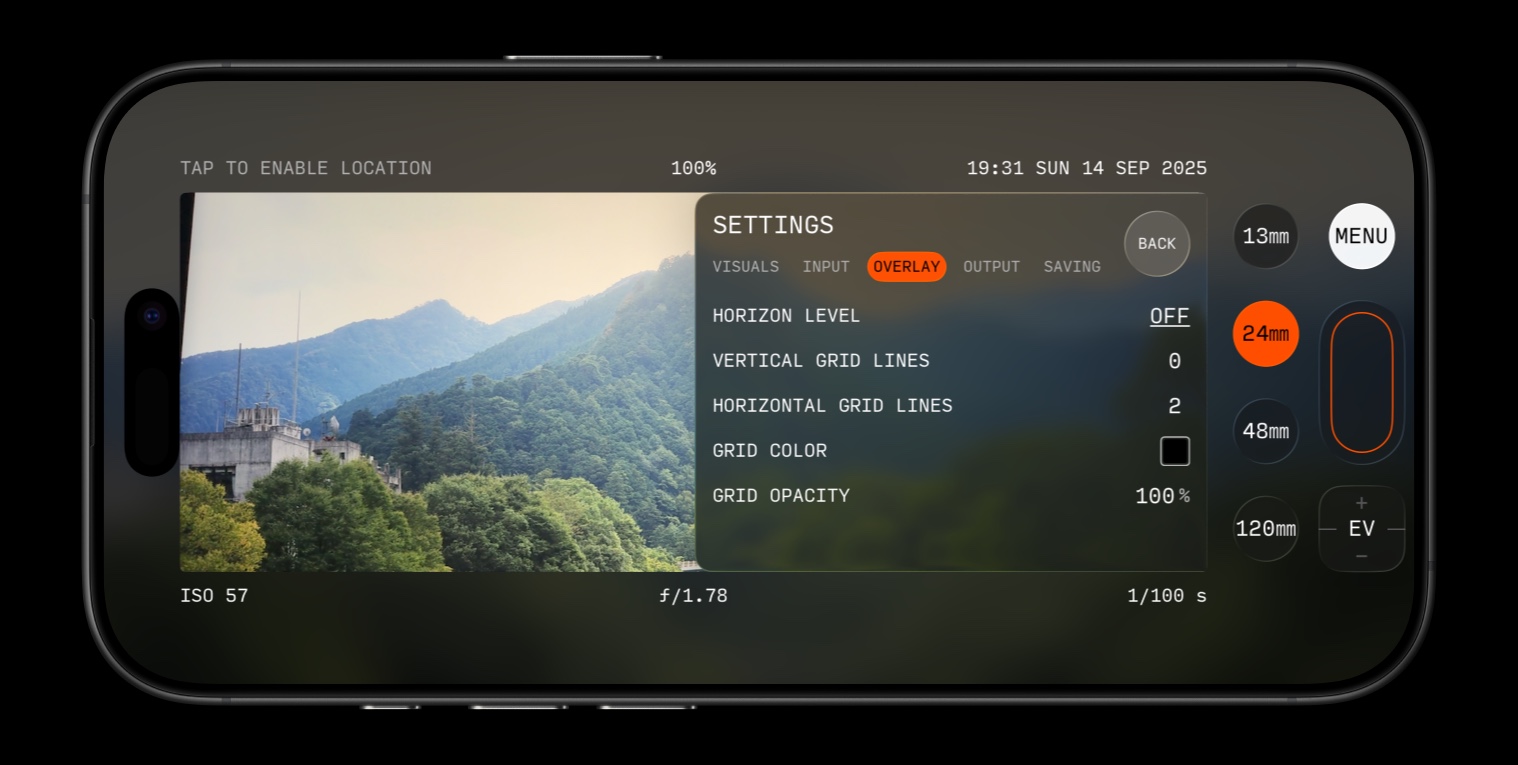
| HORIZON LEVEL |
Whether to display a horizon level or not. Options are top, center, bottom, off. |
| VERTICAL GRID LINES |
The number of vertical lines to display for the grid, from 0 to 5. Default is 2. If you can't see the lines even with a non-zero value, make sure the opacity is set to a sufficient level. |
| HORIZONTAL GRID LINES |
The number of horizontal lines to display for the grid, from 0 to 5. Default is 2. If you can't see the lines even with a non-zero value, make sure the opacity is set to a sufficient level. |
| GRID COLOR |
Customize the color of the grid overlaid on the VIEWFINDER. Tap to switch between black or white. |
| OPACITY |
Customize the opacity of the grid overlaid on the VIEWFINDER, from 5% to 100%. Press and drag left or right to adjust the opacity. |
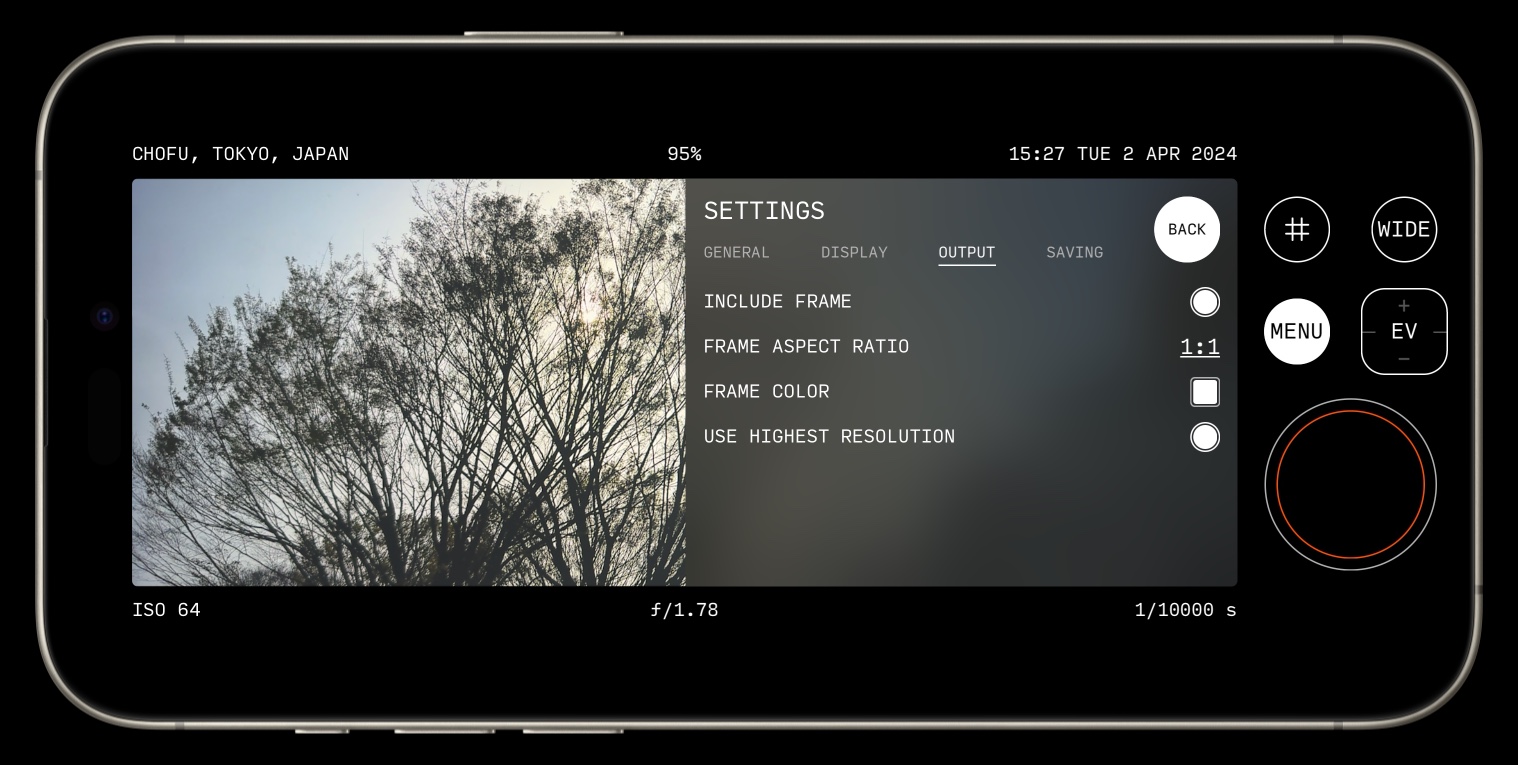
OUTPUT
| FILE TYPE |
This lets you specify whether to save photos as JPEG, HEIC, or TIFF. If you only use Apple devices, we recommend using HEIC. (note that iPhone models running on iOS 15 or iOS 16 will not support HEIC) JPEG images are the most compatible with other apps and services. HEIC images take less storage space, but some software and services might not be compatible with them. TIFF is an uncompressed format for advanced users - the images get extremely large. |
| USE HIGHEST RESOLUTION |
By default, panoramic photos are captured from iPhone's 12MP camera, resulting in a 4032×1490 image. On iPhone cameras that support 48MP capture, such as the WIDE camera starting on iPhone 14 Pro and ULTRA WIDE starting on iPhone 16 Pro, the higher resolution will be used, resulting in a 8064×2978 image. Enabling this option will result in longer capture times. |
| INCLUDE FRAME |
If enabled, a frame will be added to images. Many social media websites do not display panoramic images properly; having a frame around the image resolves this issue. |
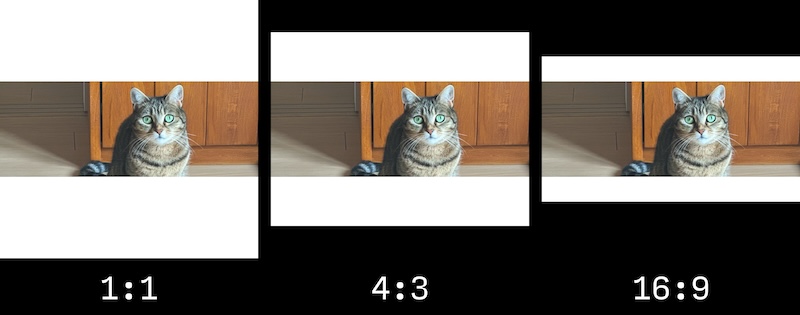
| FRAME ASPECT RATIO |
The aspect ratio to use if INCLUDE FRAME is enabled. The available values are 1:1 (square, the default value), 4:3, 16:9.
|
| FRAME COLOR |
Customize the color of the frame, if INCLUDE FRAME is enabled. Tap to switch between black or white. The default is white. |
SAVING
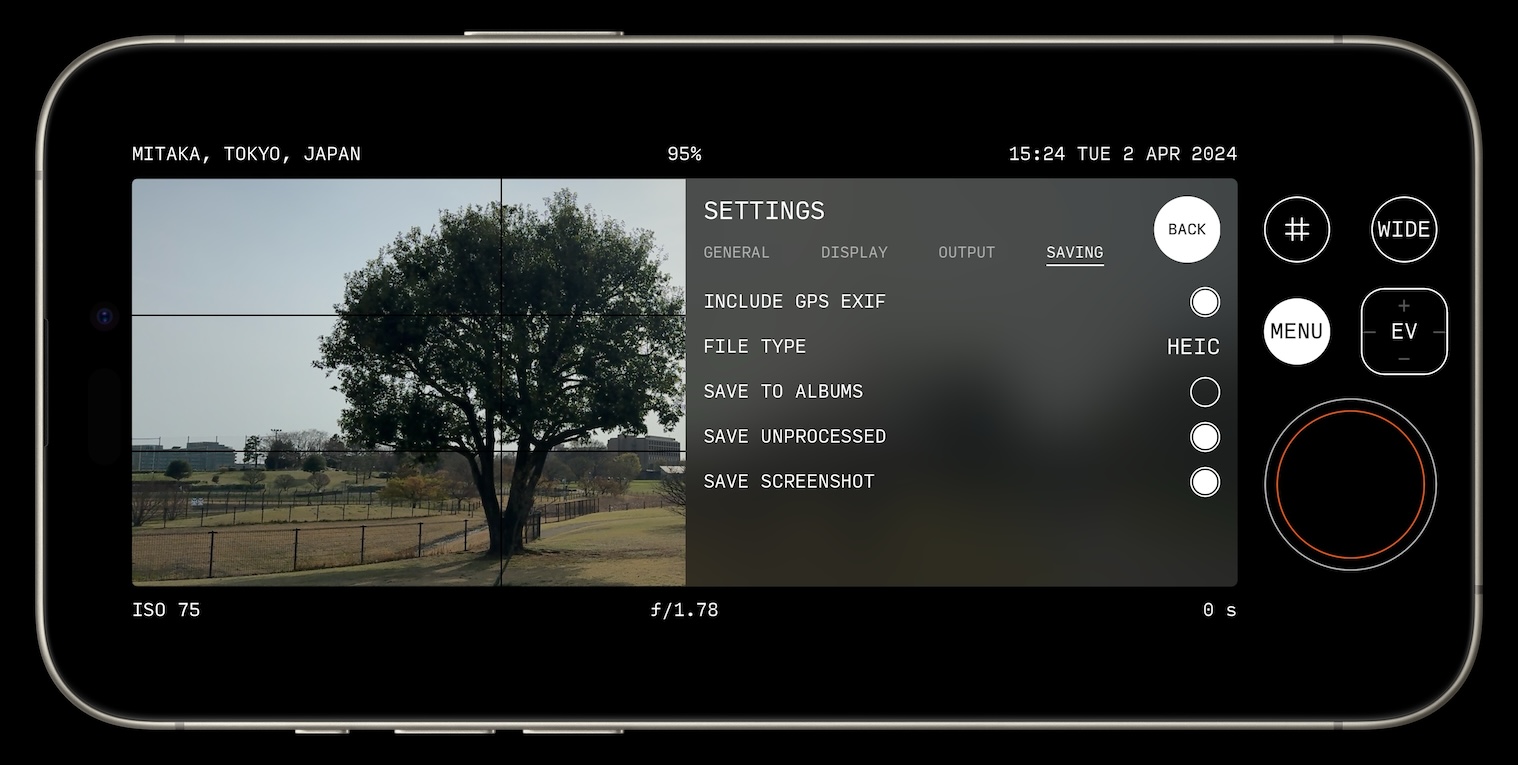
| INCLUDE GPS EXIF |
If enabled, this will store GPS location in the EXIF metadata of captured photos. The app will prompt you for location permissions when enabling this option if they are not granted already. |
| SAVE RAW WHEN AVAILABLE |
If enabled, this will save a raw Bayer reading of the sensor in DNG format, in addition to the main processed file. RAW files always have a resolution of 4032×1488, even on cameras that support 48MP (as this high megapixel mode is a special, processed mode). Note that on devices with Fusion cameras that enable a 2× sensor crop (such as the wide camera at 2× on iPhone 14 Pro and later, or the telephoto at 8× on iPhone 17 Pro), no RAW file is generated. This is due to limitations in the way iPhone captures photos on those devices. |
| ALSO SAVE SCREENSHOT |
If enabled, this will save a screenshot of the interface when a photograph is captured. If SAVE TO ALBUMS is enabled, the unprocessed versions will be saved in an album named "65x24 camera screenshots". |
| SAVE TO ALBUMS |
If enabled, this will save photos captured in an album named "65x24 camera". The app will prompt you for additional photo library permissions when enabling this option if they are not granted already. |
ADVANCED TIPS
The highest quality camera on your iPhone is the 1× (24mm) wide camera. Privilege using this one as much as you can, especially when shooting in challenging conditions such as low light.•
•
•
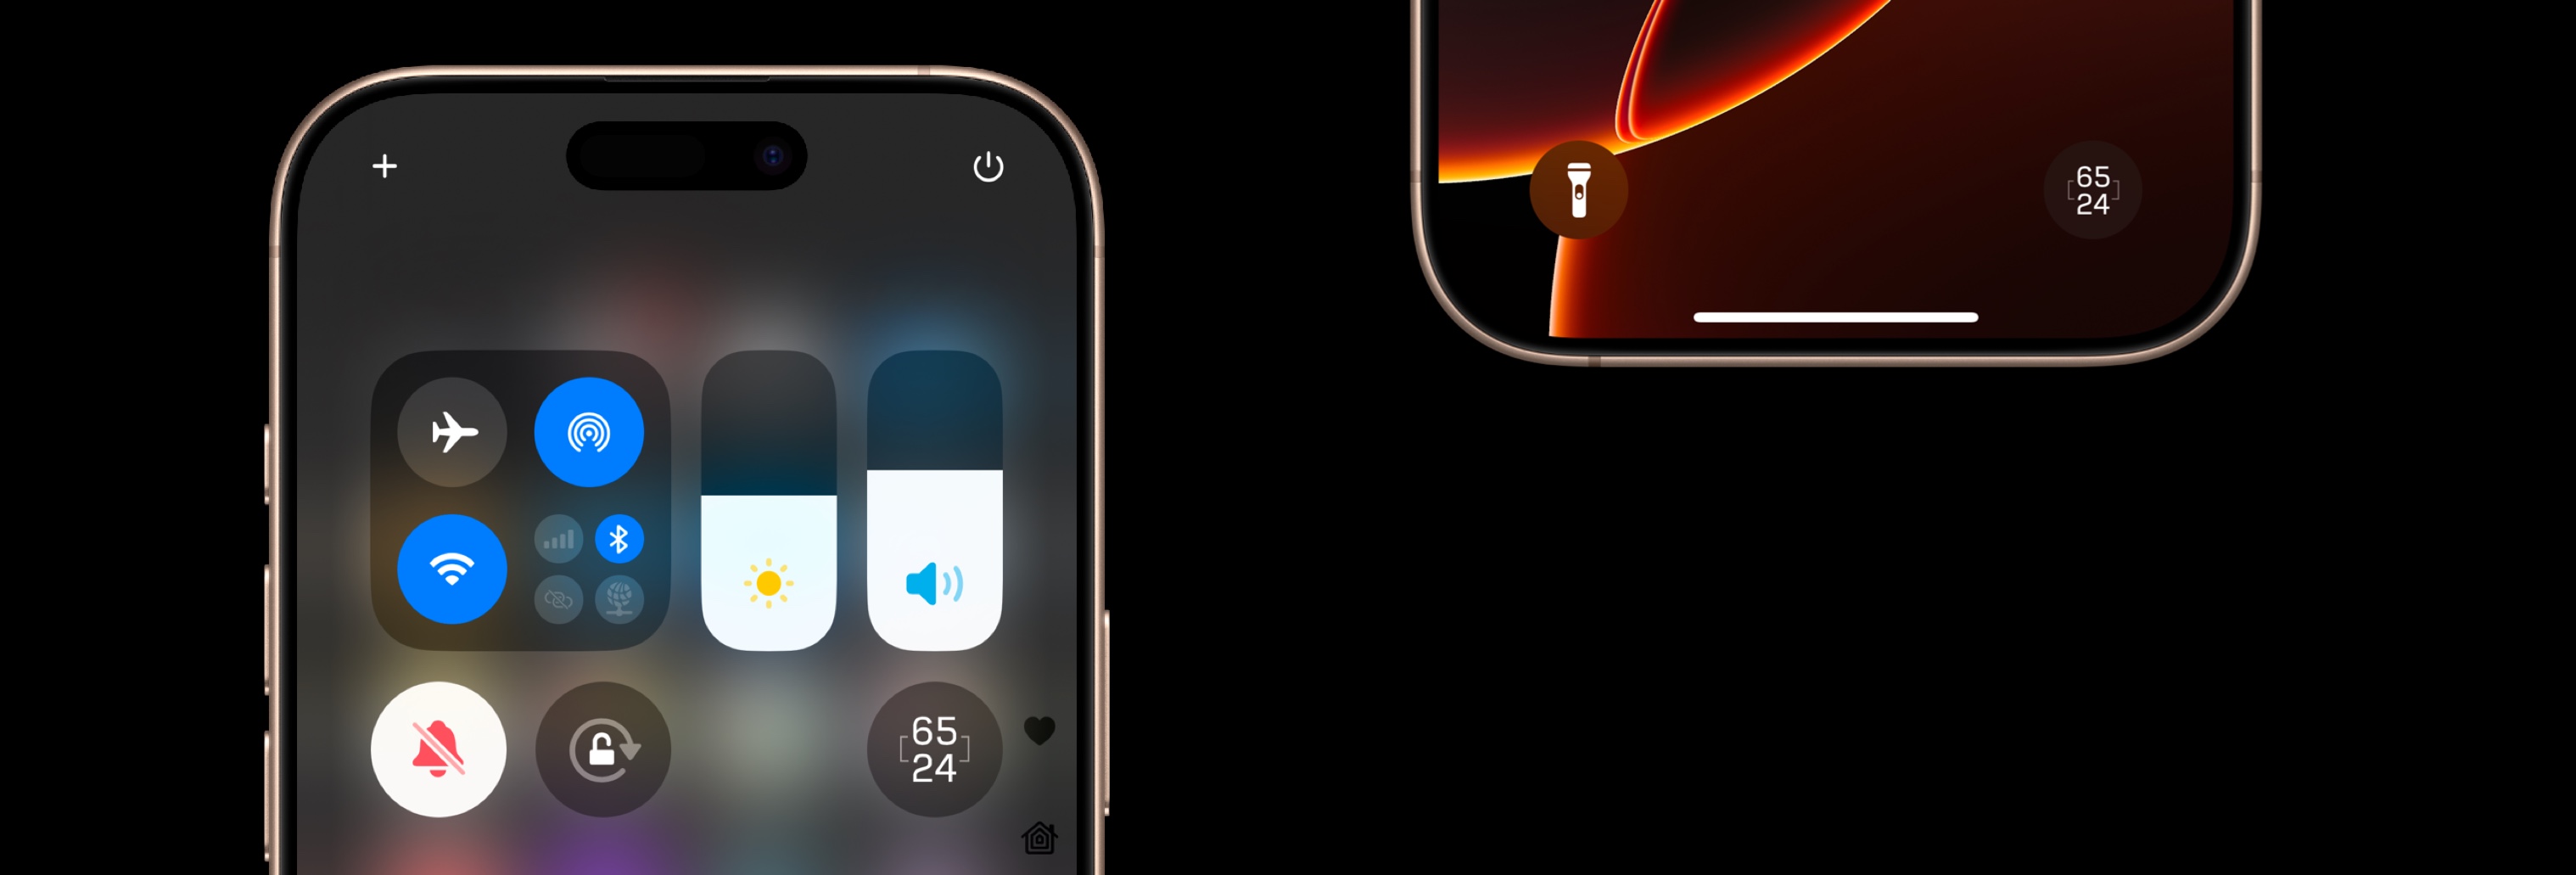
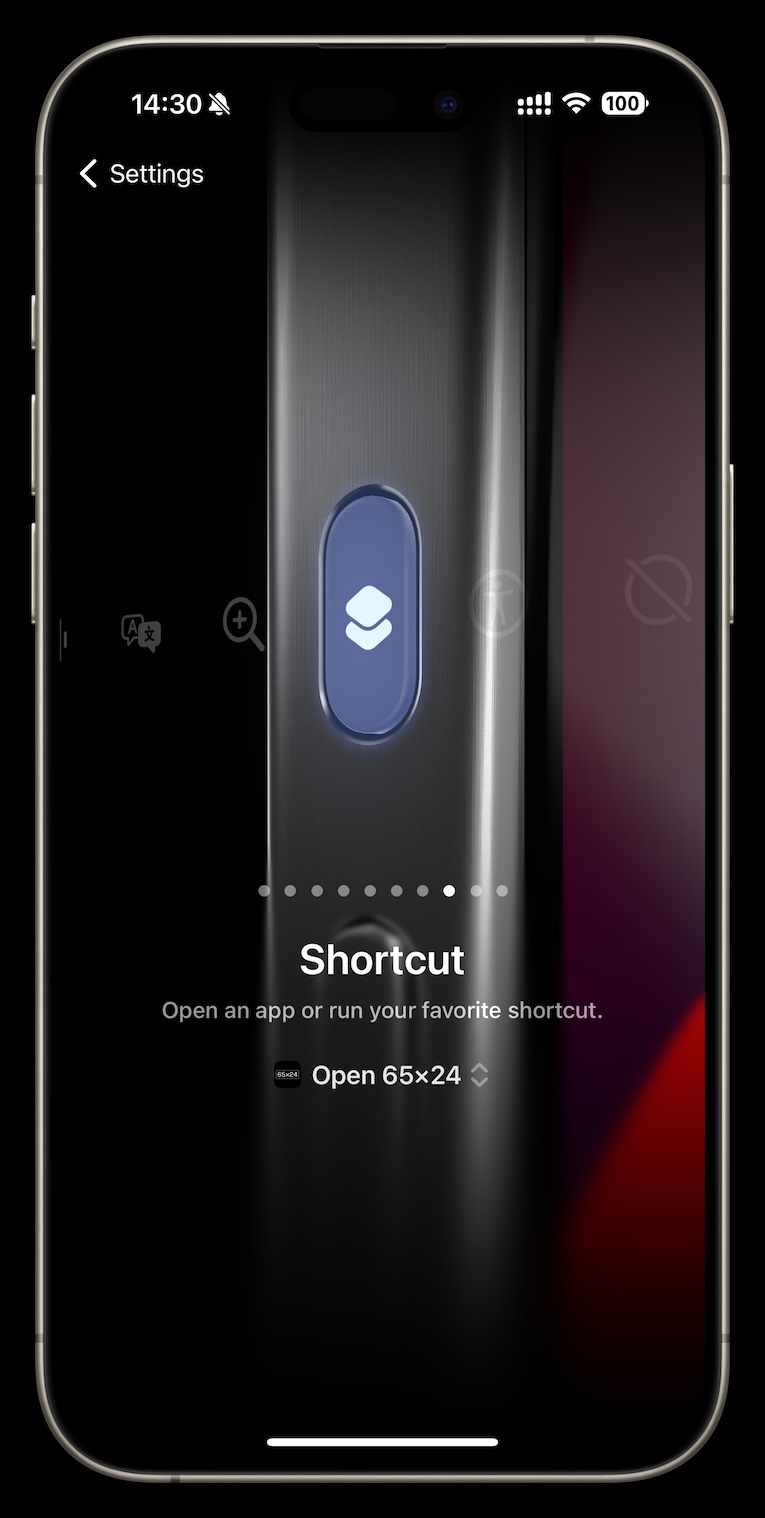
If you have an iPhone 16/17, you can also customize Camera Control to launch 65×24.
THERMALS & BATTERY MANAGEMENT
Photographic capture is an extremely power consuming activity for your device, which can lead to rapid drain and high temperatures under prolonged capture conditions.Keep an eye on the TEMPERATURE INDICATOR above the controls.
If you are in a situation where you need to maximize your battery life, here are steps we recommend:
- Keep the screen brightness to a usable minimum.
- Put your device to sleep in between shots, when possible.
- Turn off BLURRED BACKGROUND in SETTINGS > VISUALS.
- Switch to the CLASSIC theme in SETTINGS > VISUALS.
- Turn off PREVIEW IN VIEWFINDER in PROCESSING.
EXIF METADATA
The processing parameters used for a shot are saved in the EXIF metadata, under the "UserComment" field. This lets you look up those parameters later for reference.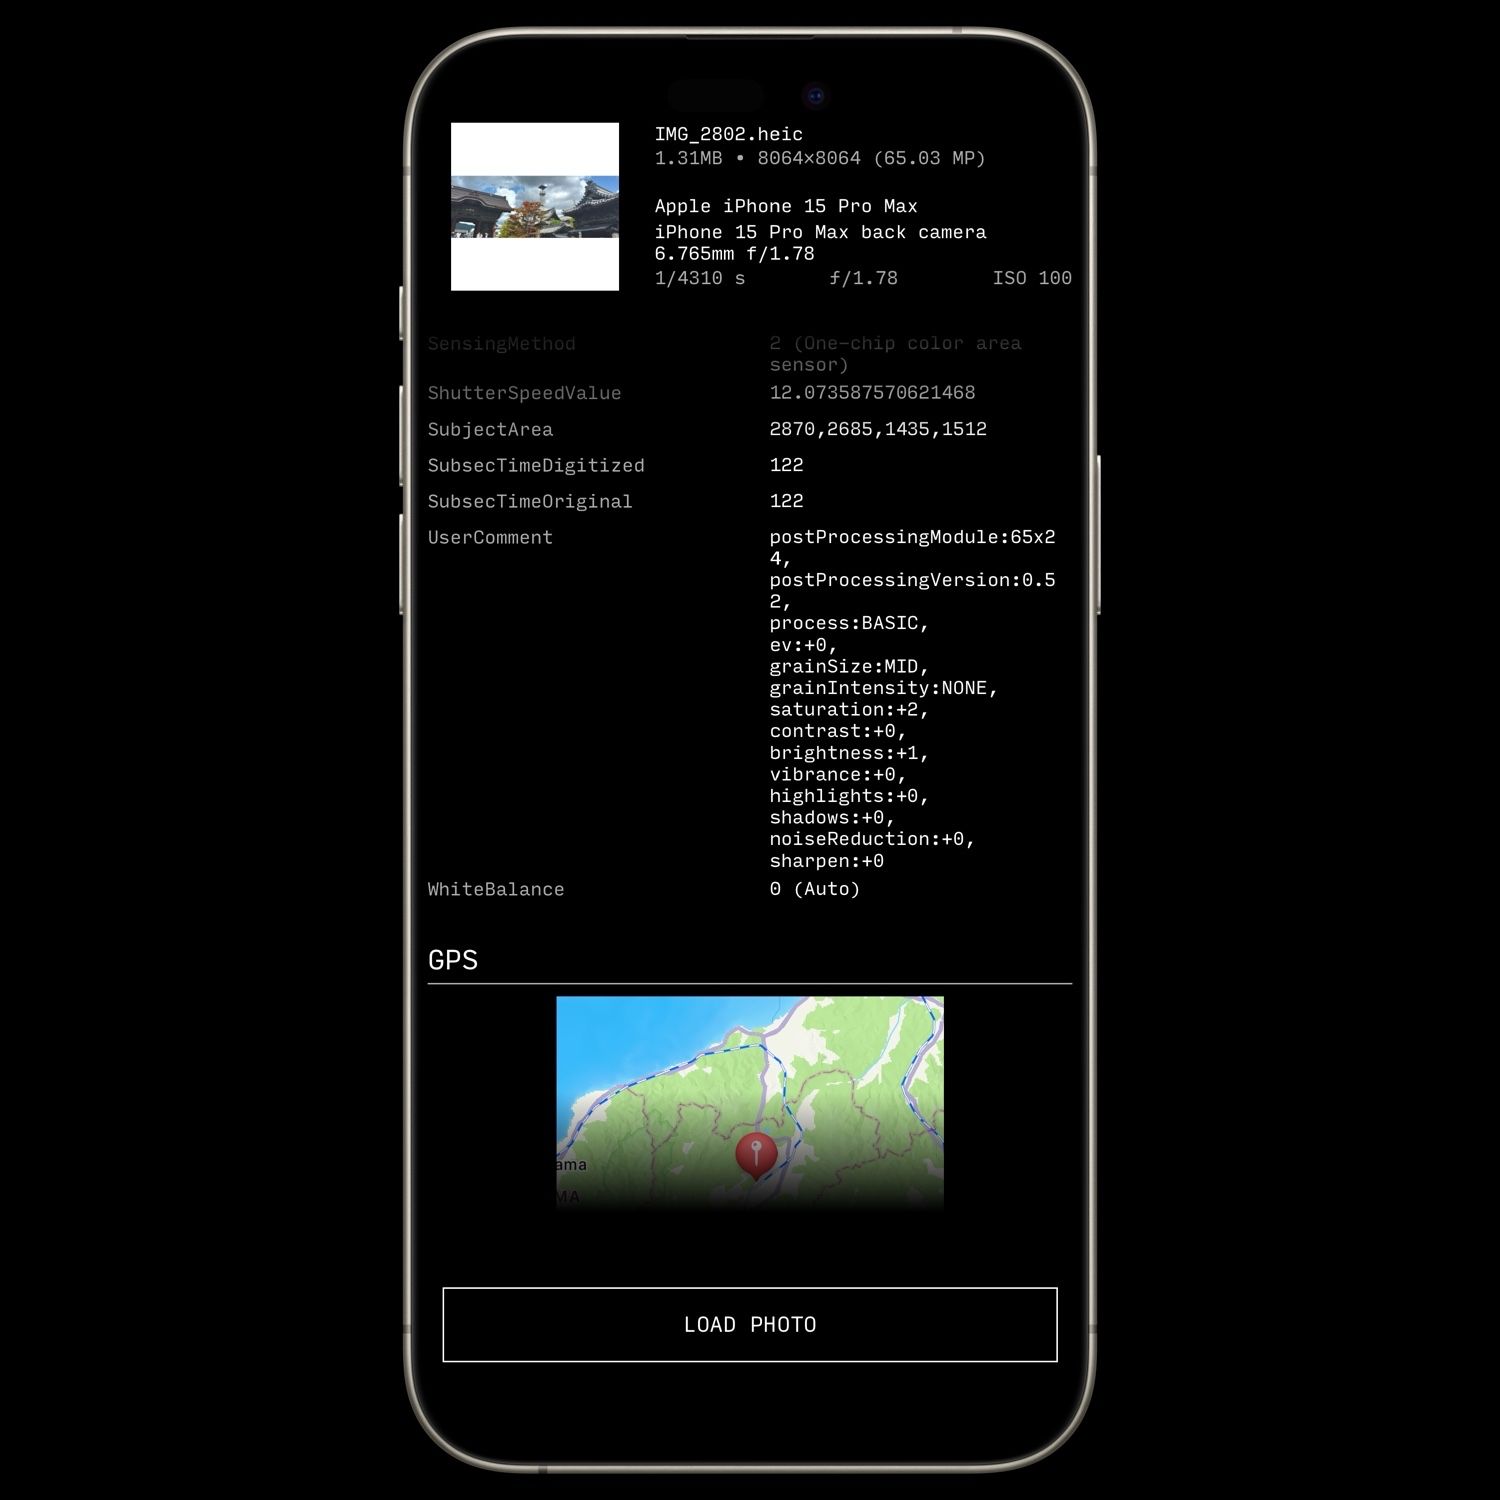 We recommend using EXIF Inspector, a free Héliographe app (pictured above), to view the EXIF metadata for your shots.
RAW RECOVERY
When capturing in RAW format, the final DNG contains the entire sensor reading, although it is cropped to the 65:24 aspect ratio.Depending on the editor software you use, those fields might not be taken into account and the entire image might be shown; or the software might not let you see the full image.
Here are free editors that are known to let you view the whole data:
- RAW Therapee
- Color.io (discontinued in 2025, archived copy available here)
You can also recover the entire image without an editor by removing the DefaultCropOrigin and DefaultCropSize fields.
For example, with exiftool, run the command:
exiftool your_file.dng -IFD0:DefaultCropOrigin="" -IFD0:DefaultCropSize=""
PANORAMIC INSPIRATION
The best way to sharpen your panoramic eye is to look at work from other photographers who have experimented with the format. Here are a few: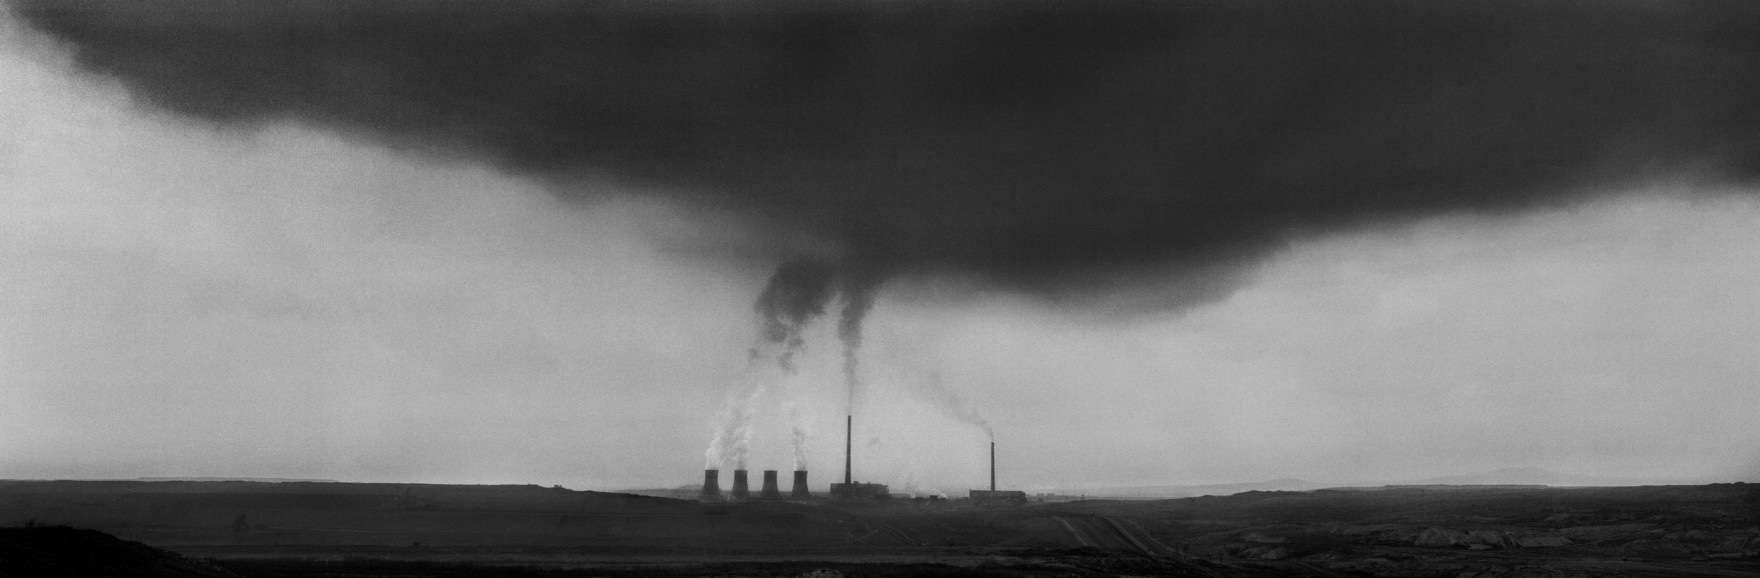
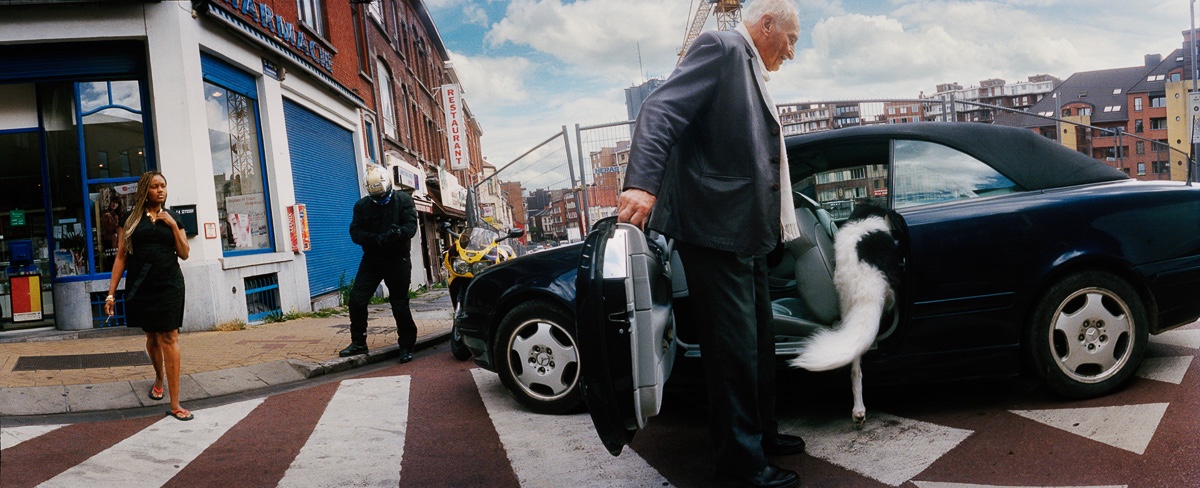
Josef Koudelka shot a number of black and white panoramas (in the 3:1 aspect ratio, slightly wider than the 2.71:1 XPan).
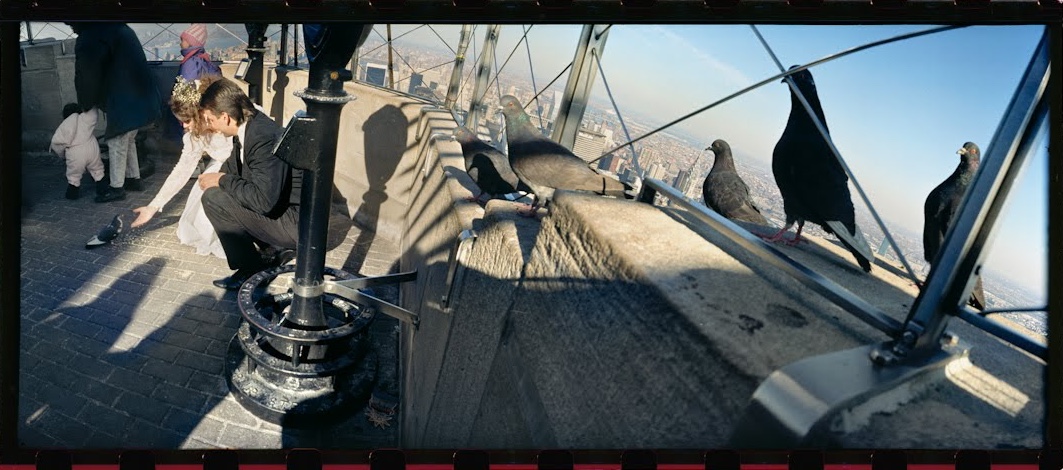
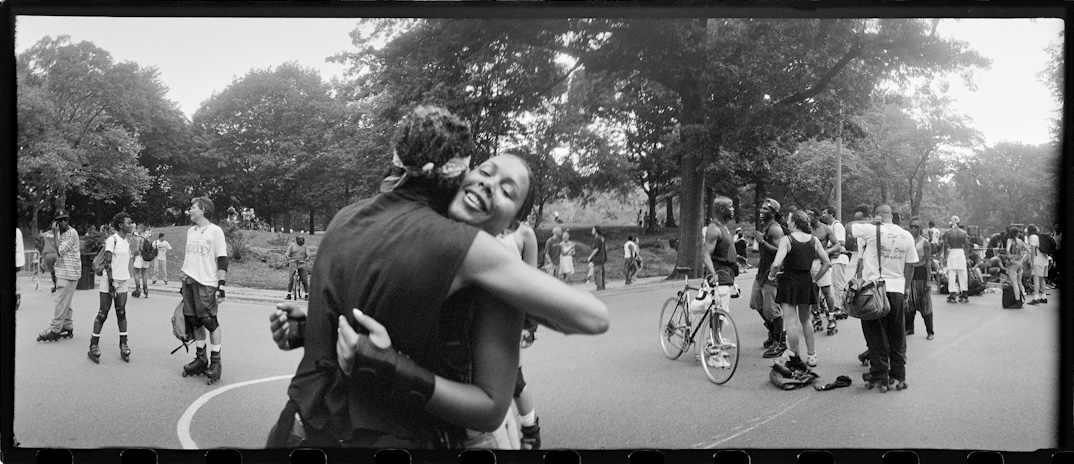
Sylvia Plachy captured many panoramic photos in New York City. The Widelux she uses leads to a distorted perspective, which can be recreated on your iPhone by privileging the Ultra Wide lens.
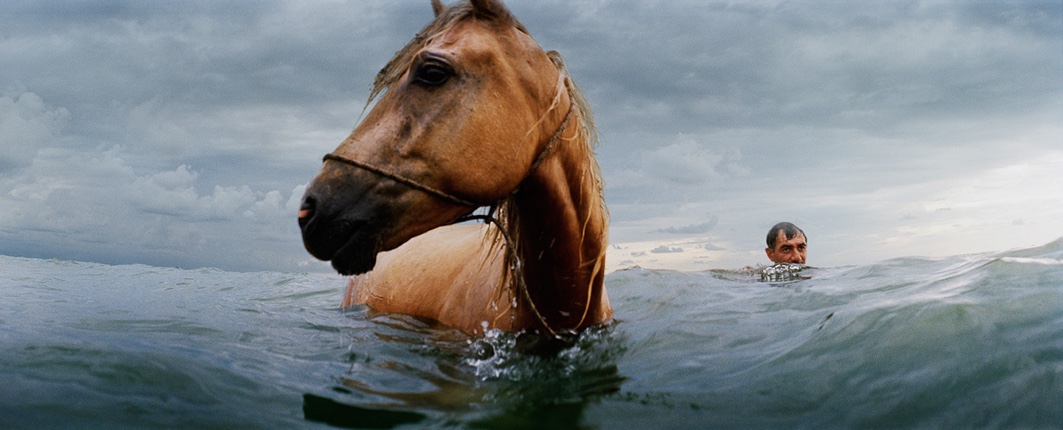
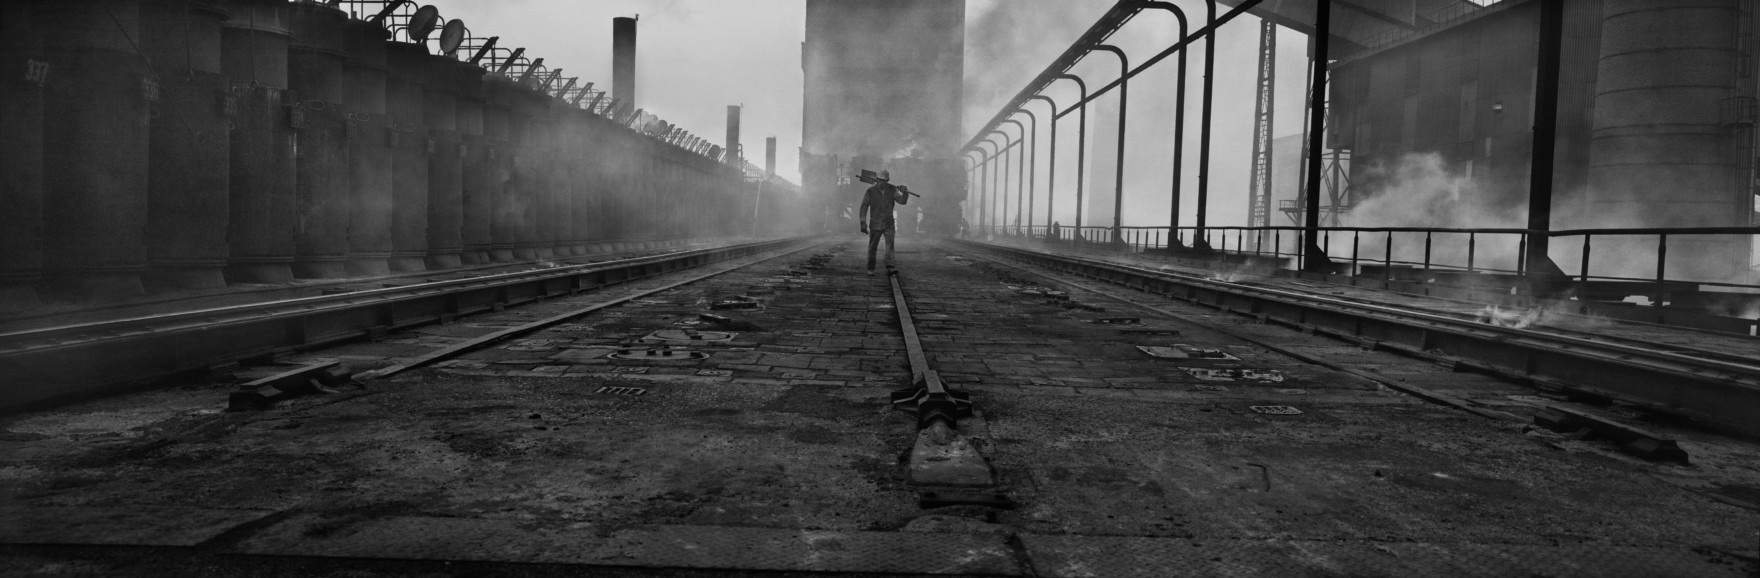
Jens Olof Lasthein has very dynamic panoramic compositions. His books Moments in Between and White Sea Black Sea feature exclusively panoramic photography.
Bye-bye
Wow! You read this whole guide! (or maybe you just scrolled to the bottom)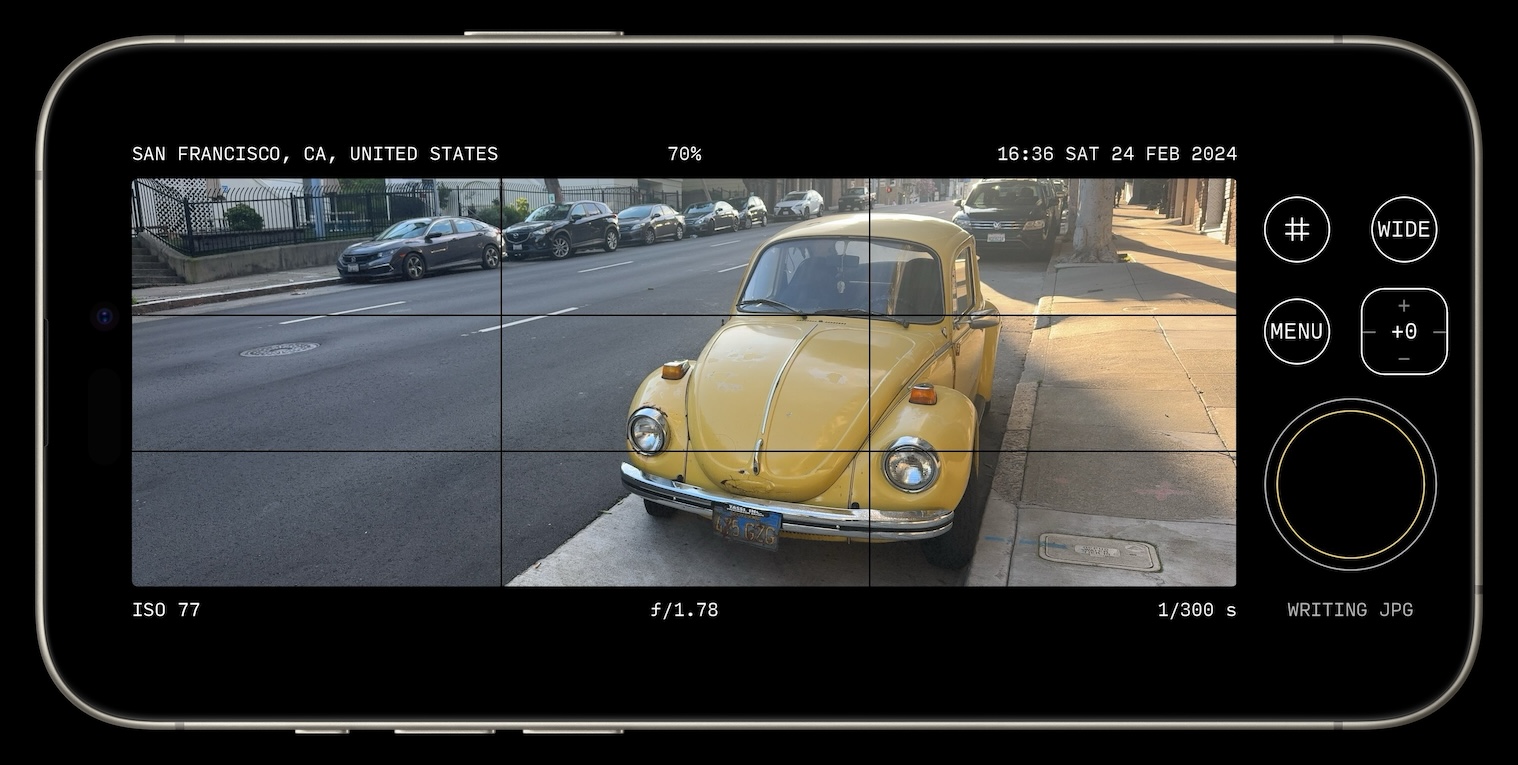
We would love to see what you capture with 65×24 - you can tag us on Instagram @65x24app, or reach out on social networks like Mastodon, Bluesky, or Threads.
Don't hesitate to email us for any reason:
contact@heliographe.studio
Happy (panoramic) shooting!